Best Beehives for Cold Climates
If you keep bees in a region where winter temperatures regularly drop below freezing, your hive design matters. A standard hive can work in cold climates, but insulated options reduce heat loss and give your colony a better chance of surviving without constant feeding or intervention. This guide covers what actually helps and what’s marketing noise.
Best Overall Cold-Climate Hive
The insulated Langstroth hive is the most practical choice for most cold-climate beekeepers. It combines the familiar Langstroth frame size — which means you can use standard equipment and swap frames with other beekeepers — with built-in insulation, usually polystyrene or foam walls that wrap the brood box (the lower section of the hive where the queen lays eggs and the colony lives) and the lower super (the box stacked above the brood box, used here for honey storage). This design cuts heat loss significantly compared to bare wood.
The real advantage is that your bees cluster more efficiently and consume less honey to stay warm. In regions where winter lasts four to six months, this translates to fewer emergency feedings and lower starvation risk. The insulation also moderates temperature swings on warm winter days, which can trick bees into breaking cluster and wasting energy.
One trade-off: insulated hives are heavier and bulkier to move or inspect. They’re also more expensive upfront — typically $200–400 versus $100–150 for a standard hive. If you’re just starting and live in a mild climate with only occasional hard freezes, a standard hive with winter modifications will work fine. But if you’re in Minnesota, Canada, or the mountain West, the insulated Langstroth hive pays for itself in reduced losses.
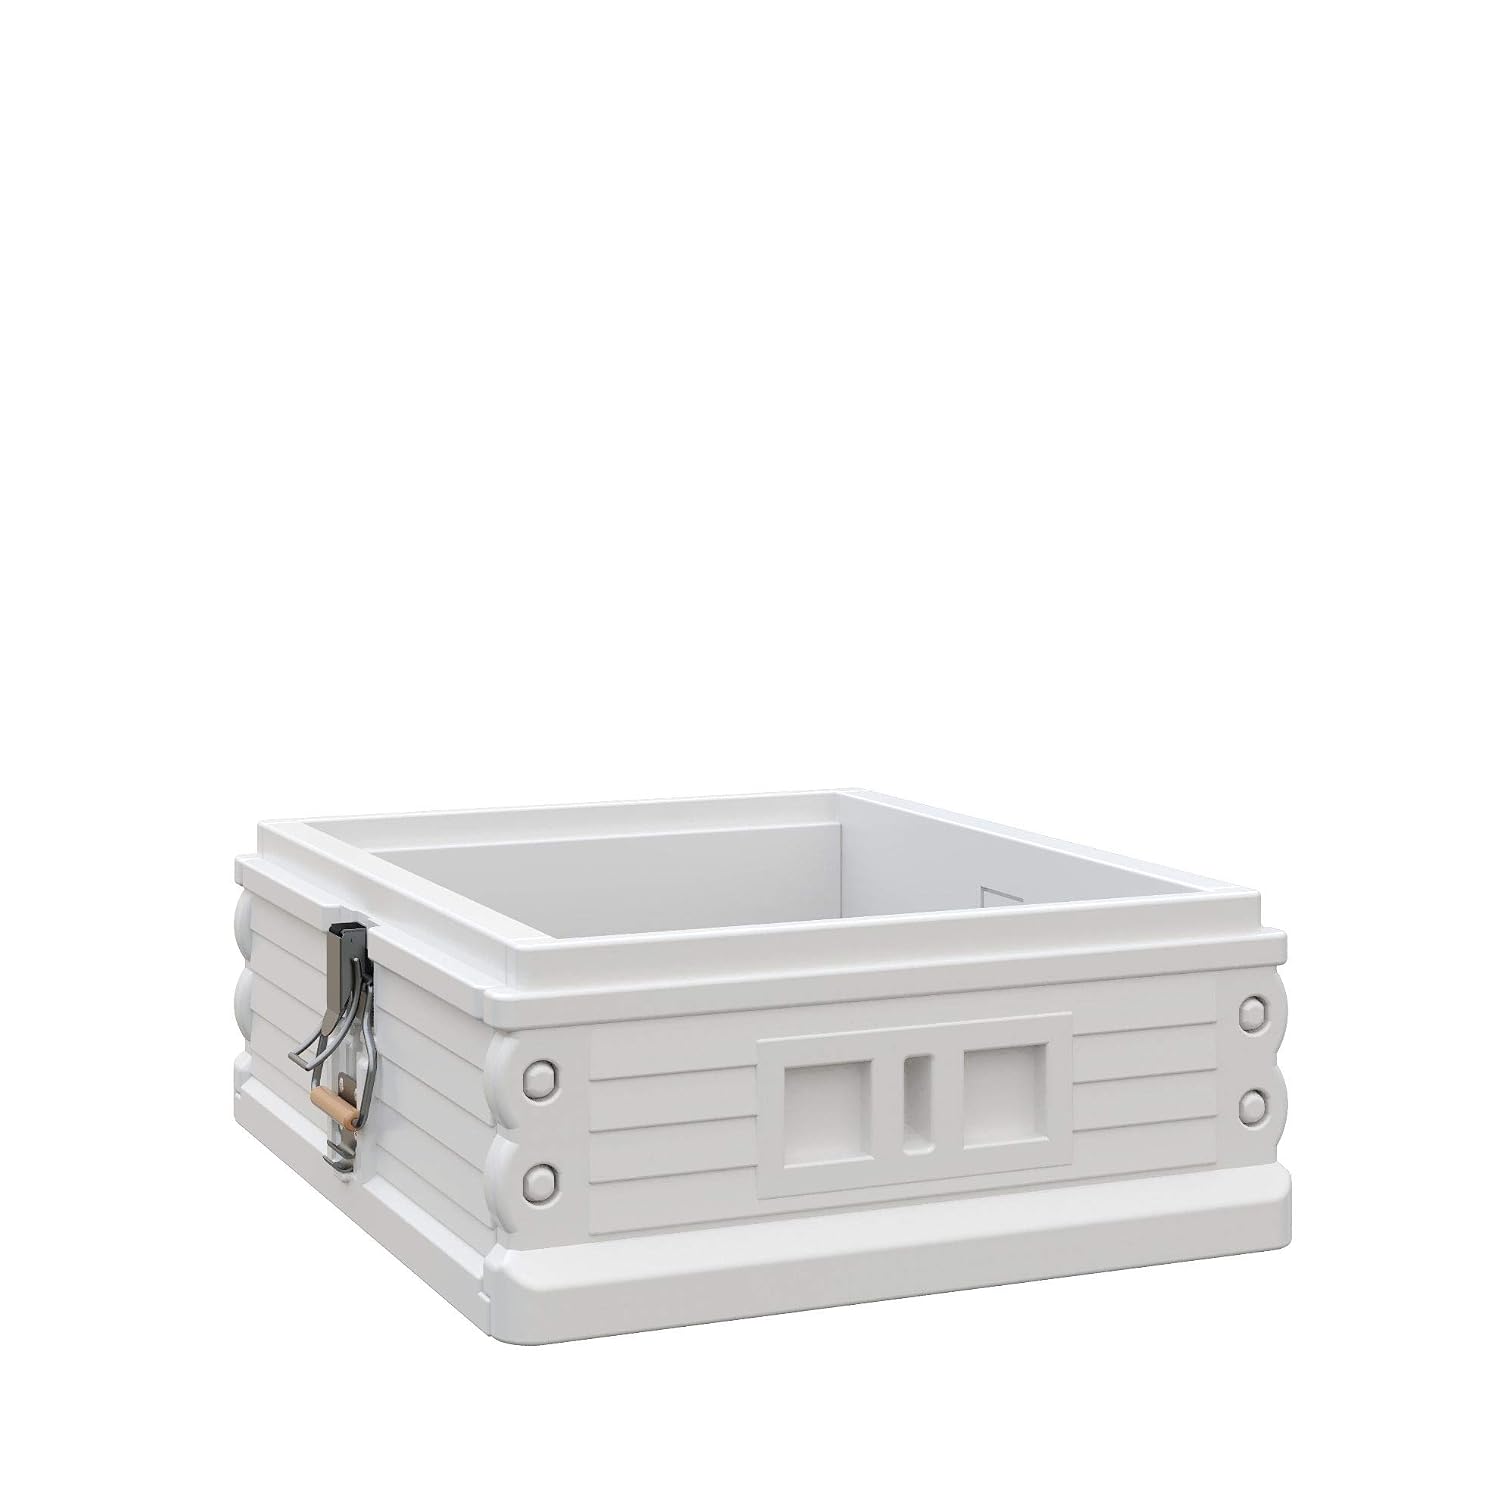
The insulated langstroth hive combines standard langstroth dimensions with 2 inches of polystyrene foam insulation on the sides and bottom, reducing heat loss and moisture problems without requiring external wrapping. Most versions include a built-in entrance reducer and cost $250–350, making them a solid investment for beekeepers in regions with winters below 0°F.
Best Insulated Hive Option
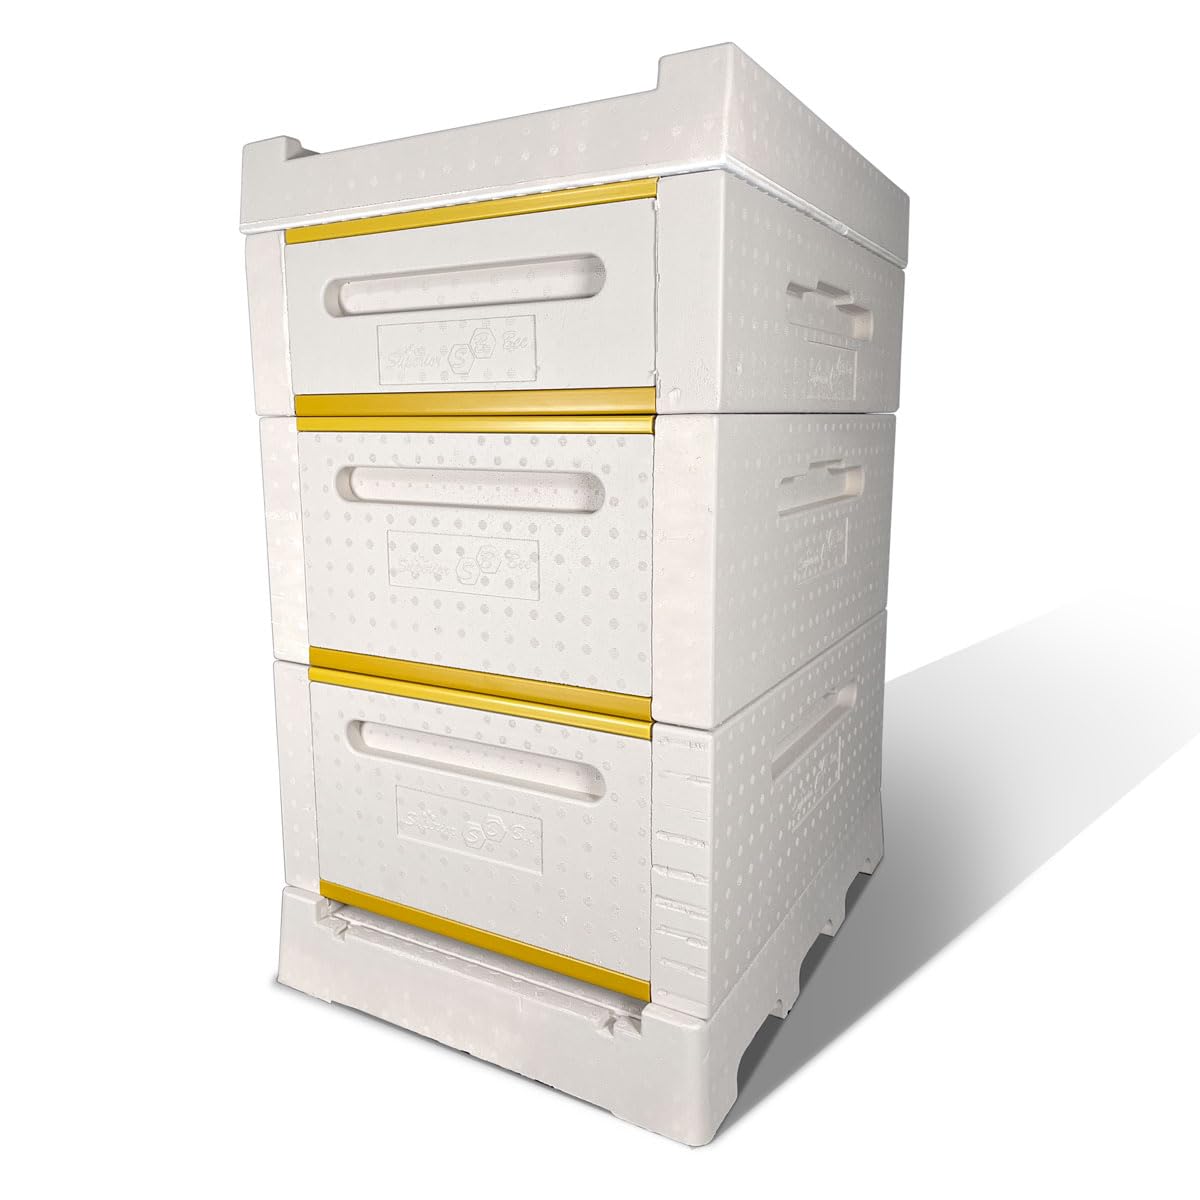
Built-in insulation reduces how much supplemental wrapping you need in a cold climate, though it costs more upfront than a standard uninsulated hive.
The insulated Langstroth-style hive is the most widely available and beginner- accessible insulated option, though other insulated designs — such as polystyrene Langstroth-compatible hives from manufacturers like Apimaye, and foam-core models from several smaller suppliers — are also marketed to beginners and worth considering. Most insulated Langstroth versions use 2 inches of polystyrene foam on the sides and bottom, which keeps the brood cluster warmer without requiring you to wrap the hive in tar paper or blankets — methods that work but are fiddly and less reliable.
Look for models where the insulation is integrated into the hive body itself, not glued on as an afterthought. The foam should be food-grade and treated to resist moisture and rodent damage. Some designs include a small entrance reducer built into the insulated wall, which helps bees defend against mice without you fiddling with it mid-winter.
The downside is that foam can degrade over time, especially in direct sun, so you’ll eventually need to replace the hive. It’s also not as durable as wood if you’re rough with it during inspections. But for a beginner in a cold region, the simplicity and effectiveness make it worth the cost.
What to Look for in Cold-Climate Hive Design
Good cold-climate hive design has a few non-negotiable features. First, ventilation: your hive needs a way for moisture to escape without creating drafts. Look for designs with a small vent hole near the top of the brood box and an entrance at the bottom. Condensation inside the hive kills bees faster than cold does, so airflow matters more than you might think.
Second, entrance size and placement. A small entrance (roughly 3/8 inch high and 1–2 inches wide) lets bees defend against mice and reduces heat loss. It should be at the bottom of the hive so bees cluster above it naturally. Some insulated hives have the entrance built into the foam, which is cleaner than retrofit reducers.
Third, floor design. A solid floor with good drainage prevents water pooling under the hive. If your hive sits on wet ground all winter, rot and mold become problems. A slight slope or a screened bottom board with a removable tray underneath both work — the tray lets you monitor for varroa mites (a parasitic mite that is one of the most common threats to honey bee colonies) and remove debris without opening the hive.
Finally, check that the hive is designed for your frame type. If your region uses 10-frame or 8-frame Langstroth standards, make sure the insulated hive matches. Mixing frame sizes mid-winter is a disaster.
Modifications That Help Any Hive Survive Winter
You don’t need an insulated hive to winter bees successfully, but you do need to prepare. One of the most important steps is ensuring your colony has enough honey to last the winter. The right amount varies depending on how severe your winters are, your colony size, and your hive configuration — a large colony in a two-box hive in Minnesota needs considerably more than a smaller colony in a milder climate. As a rough starting point, many cold-climate beekeepers aim for roughly 60–80 pounds of stored honey for a two-box hive, but check with local beekeeping associations for guidance specific to your region. If stores are short, feed sugar syrup or fondant in late fall and early winter.
Reduce the entrance to 3/8 inch or smaller in November. This keeps mice and cold air out without restricting bee flight on warm days. Wrap the outside of a standard wooden hive in tar paper or commercial hive wrap, leaving the top and bottom open for ventilation. This isn’t as effective as foam insulation, but it helps.
Add a quilt box (a shallow box filled with wood shavings or straw) on top of the hive. It absorbs moisture and provides a small air gap. Alternatively, place an absorbent material like burlap directly on top of the frames under the outer cover. Check these weekly in late winter and replace them if they’re soaked.
Ensure your hive is level and elevated slightly off the ground to prevent standing water. Face the entrance south or southeast if possible so morning sun warms the entrance and encourages cleansing flights — short orientation flights bees take on mild winter days to void waste they’ve been holding inside the cluster — on warm days.