Best Mouse Guards for Winter
A mouse guard is a simple barrier that stops mice from entering your hive during winter when they’re looking for shelter and food. Most beginners can get by with a basic wooden or metal entrance reducer, but a dedicated mouse guard offers better airflow and easier inspection. The good news: this is one of the cheapest pieces of equipment you’ll buy, and it genuinely protects your colony.
Best Overall Mouse Guard
The winter beehive mouse guard strikes the best balance between protection and practicality for most hobbyists. It typically features a wooden frame with hardware cloth (a metal mesh) that allows bees to pass through but blocks mice. The mesh openings are usually around 3/8 inch—small enough to stop a mouse but large enough for your forager bees to come and go without crowding.
What makes this style the best overall is airflow. Unlike solid entrance reducers, the mesh design lets moisture escape from the hive, which is critical in winter when condensation can kill your colony. You can also peek through the mesh to check on your bees without opening the hive. Installation is straightforward: it slides into the entrance like a frame, and most designs sit flush against the hive body so mice can’t squeeze around the edges. The downside is minimal—they cost a bit more than solid wood options, but the peace of mind and hive health benefits justify the expense for most beekeepers.
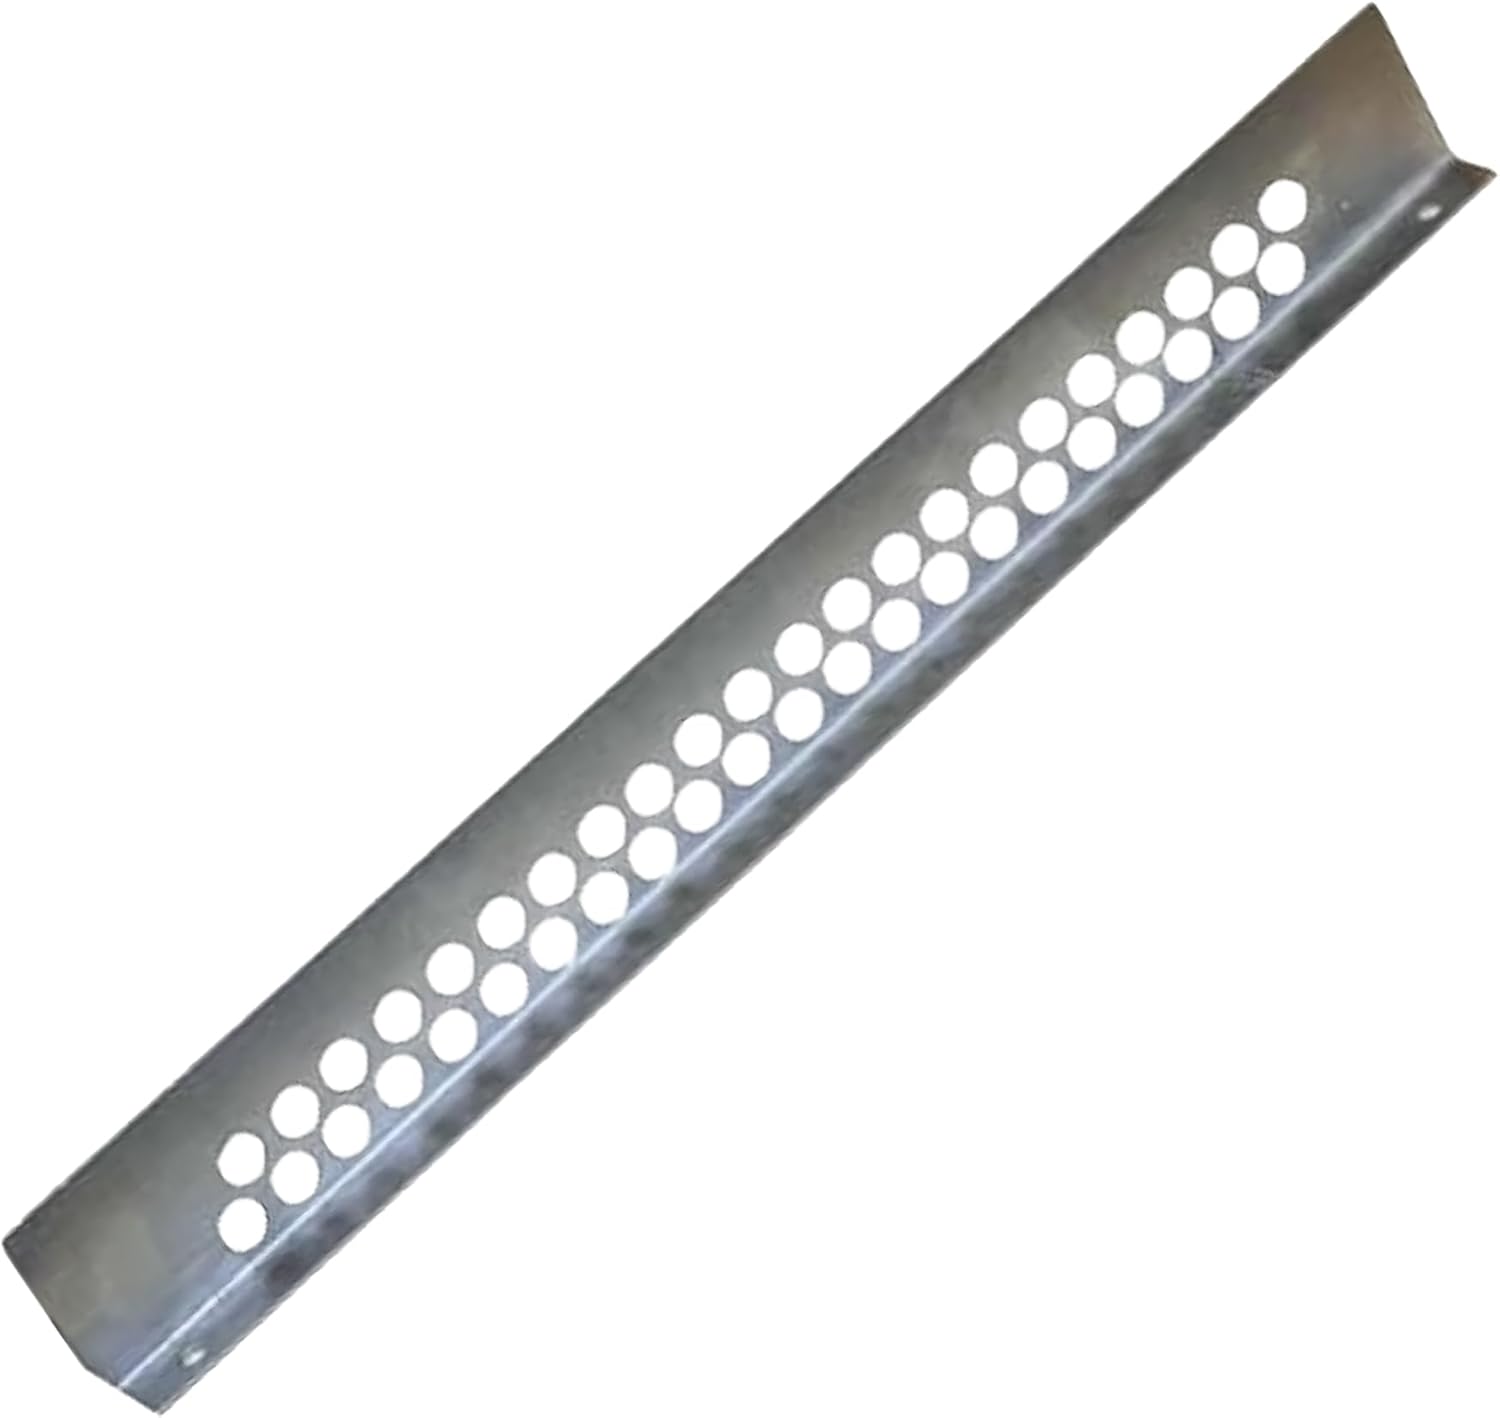
The winter beehive mouse guard is widely available from beekeeping suppliers and fits standard 10-frame Langstroth hives with a snug entrance fit. The hardware cloth mesh is durable enough to last several seasons, and the wooden frame is usually treated or naturally rot-resistant. Most versions cost between fifteen and twenty-five dollars.
Best Budget Option
If you’re watching your spending, a metal beehive mouse guard delivers solid protection without the higher price tag. These are typically just metal mesh stretched over a simple frame, sometimes with minimal wood reinforcement. They work just as well as fancier options at stopping mice, and the metal construction often lasts longer without warping or rotting.
The trade-off is that budget versions sometimes have less-refined edges or rougher construction, but that doesn’t affect function. Some beekeepers even make their own using scrap wood and hardware cloth from a hardware store for under ten dollars. A metal beehive mouse guard is perfectly adequate if you’re only protecting one or two hives and don’t mind a less polished appearance. Just make sure whatever you choose fits your hive entrance snugly—gaps are how mice get in.
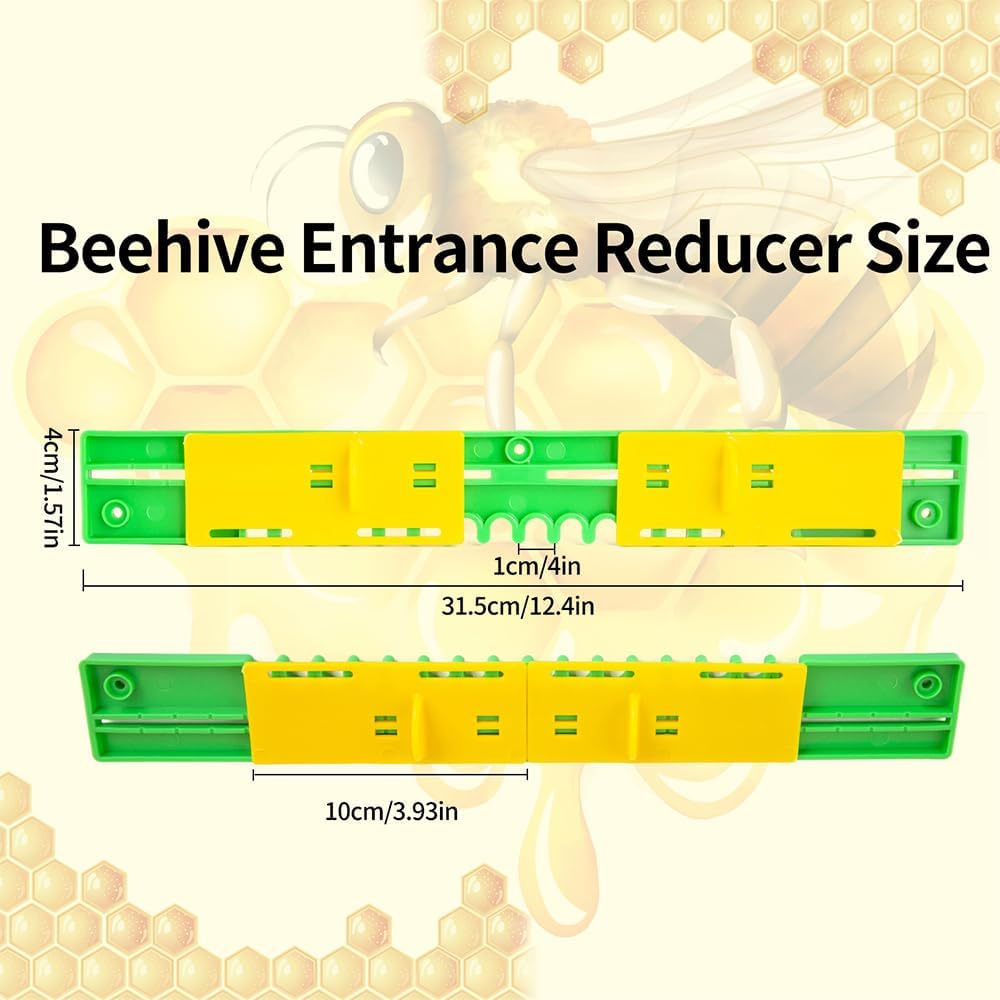
The budget beehive mouse guard is the bare-bones option—often just mesh and minimal framing—and works fine if you're cost-conscious or testing beekeeping before investing more. These typically run ten to fifteen dollars and do the job, though they may not last as many seasons as premium options. They're a reasonable choice for your first hive.
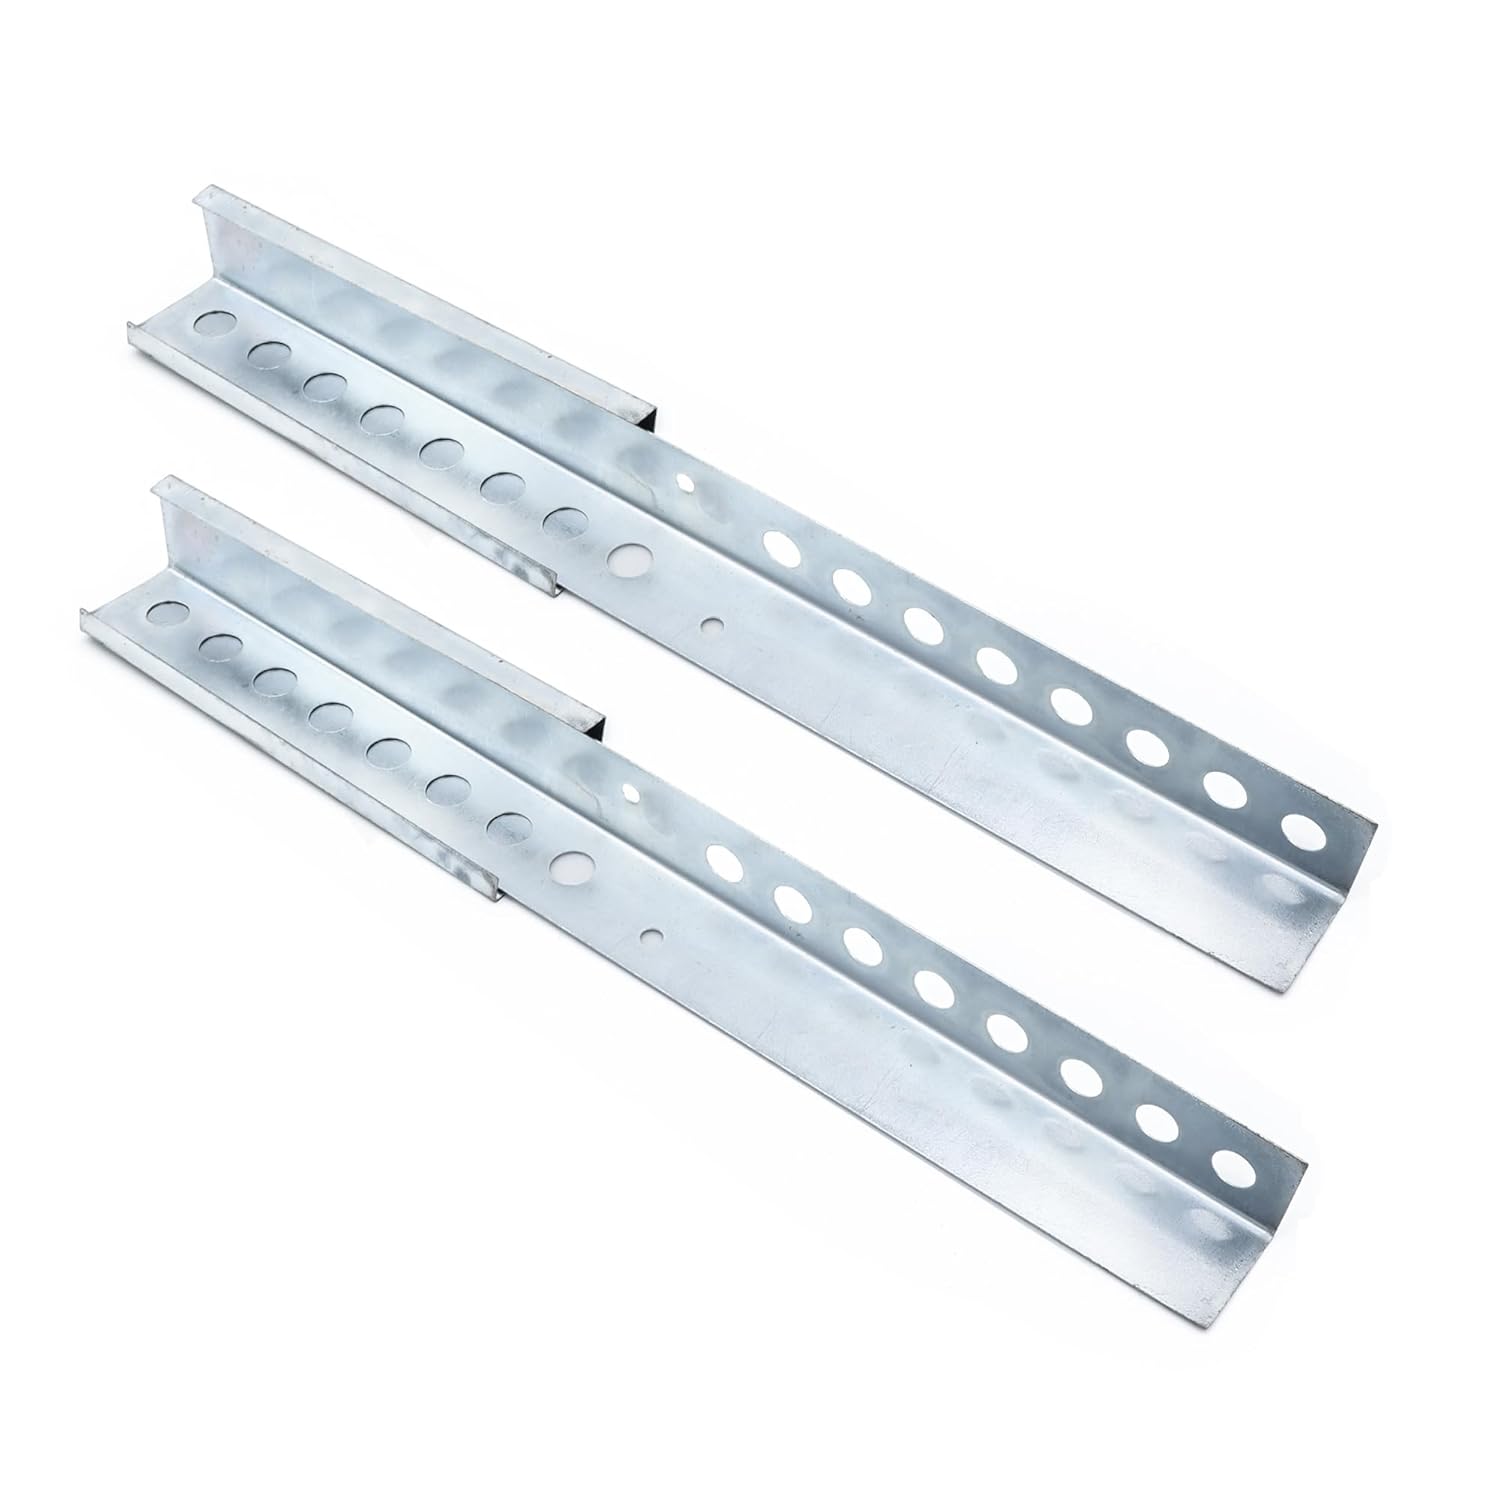
A metal beehive mouse guard offers the same protection as wooden versions but with a sturdier frame that resists weather damage over time. The all-metal or metal-reinforced design makes it a solid long-term investment if you plan to keep bees for years. Expect to pay in the twenty to thirty dollar range for a quality metal version.
When to Install Before Winter
Install your mouse guard in late fall, ideally once nighttime temperatures drop below 50°F consistently. This timing matters because you don’t want to block airflow too early when your bees still need good ventilation on warm days. In most regions, this means mid-to-late October or early November, depending on your climate.
Don’t wait until you see a mouse in the hive—by then it’s already inside. Once installed, leave the guard on until early spring when temperatures stay above 50°F at night and foragers are flying regularly again. One helpful practice: check the guard weekly during winter. Bees sometimes build burr comb (extra wax) around the entrance, which can partially block the mesh. A quick clearing keeps airflow steady and lets you spot problems early.
Checking for Mice Once Installed
Even with a guard installed, do a visual check every two to three weeks during winter. Look at the entrance from a distance—you’re watching for mouse droppings, shredded wax, or dead bees scattered below the entrance. These are signs a mouse has found its way in, which can happen if the guard isn’t seated properly or if gaps develop.
If you do spot signs of a mouse, open the hive on a mild day (above 50°F) and look inside. Mice typically nest in the bottom box and leave obvious damage: shredded comb, droppings, and a musky smell. If you find an active mouse, remove it by hand or place a simple trap baited with peanut butter just outside the entrance—never inside the hive, where it can harm bees or disrupt the winter cluster. Removing a mouse from an active hive is tricky and stressful for the colony, which is why prevention with a properly installed guard is so much easier. Most beekeepers never have to deal with this if they install a guard early and check it stays in place.