How to Do a Walk-Away Split
A walk-away split is one way to create a second colony from a strong hive, but it’s not the easiest or most reliable method for beginners. If you’re new to beekeeping, you might want to try a simpler approach first—like buying a package or nucleus colony. That said, if you have a booming hive in spring and want to understand how bees naturally create new colonies, a walk-away split teaches you something valuable.
Step 1: Choose a Strong Donor Hive
You need a hive that’s genuinely thriving—not just surviving. The best time is mid-spring when the colony has built up to at least three or four frames of brood, plus plenty of adult bees covering six or more frames. Look for a hive with a healthy, laying queen and no signs of disease. If the colony is weak, struggling with mites, or has a poor queen, don’t split it. You’re essentially betting that the queenless half will raise a new queen successfully, and that only works if you start with enough worker bees and young brood to do the job.
Check the hive on a warm day when most foragers are out. You want to see capped brood, open brood, and eggs—fresh eggs especially. If the hive is already preparing to swarm (you see multiple queen cells), a split might actually prevent that, but it’s not a rescue plan. The donor colony must be strong enough to survive the split and still have room to grow. If you’re uncertain, wait another week or two.
Step 2: Split Brood and Resources Evenly
The core of a walk-away split is simple: divide the hive into two boxes, each with brood, honey, pollen, and plenty of bees. You don’t move the queen; she stays with one half. The other half, now queenless, will raise a new queen from the brood you left behind.
In practice, this means physically separating the hive into two units. Some beekeepers use a beehive splitting kit with frames, which gives you a ready-made second box with frames already built or foundation ready to draw. Take frames of capped and open brood from the original hive and distribute them between the two boxes—aim for at least two frames of brood in each. Add frames of honey and pollen too, so each half has food. Fill any empty space with frames of foundation or drawn comb.
The key is giving the queenless half young brood—ideally eggs or larvae less than three days old. The bees will recognize that they have no queen and will convert one of those young larvae into a queen cell. To prevent bees from simply drifting back to the original hive location and leaving the queenless half depleted, face the two hive entrances in different directions and place them as far apart as is practical in your yard—or better yet, move one hive to a different location entirely. The queenless half stays in place at the original hive’s location so that returning foragers continue to boost its population; move the original hive with the queen to the new spot.
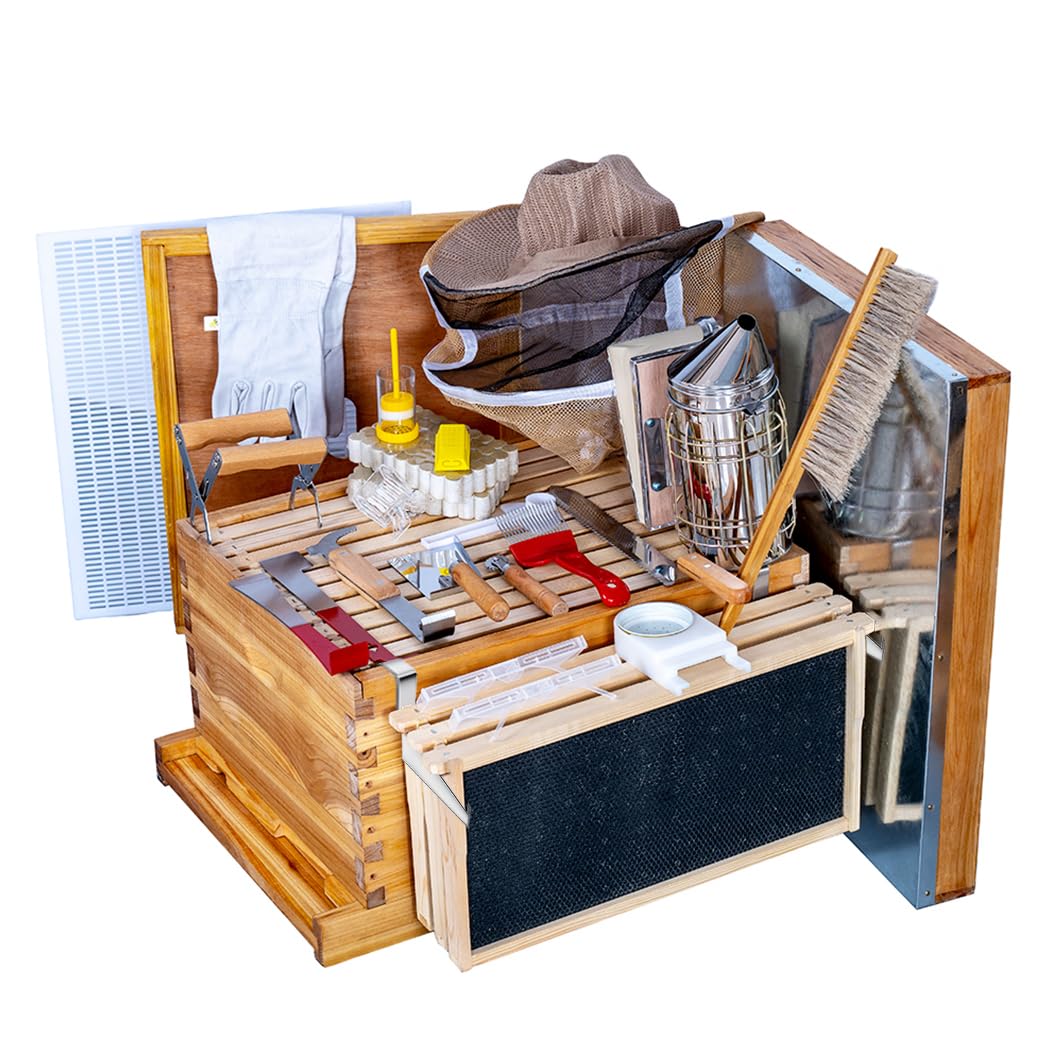
A beehive splitting kit with frames takes the guesswork out of having the right equipment on split day; it gives you a second box with frames already in place so you're not scrambling to find or assemble components when you need to divide the colony.
Step 3: Let the Queenless Half Raise a Queen
Once you’ve split the hive, resist the urge to open it constantly. The bees need time to build queen cells and raise a new queen without interruption. A queen takes approximately 16 days to develop from egg to emergence. After she emerges, she needs additional time to mature, complete her mating flights, and begin laying—a process that can take another two weeks or more depending on weather and conditions. Plan on waiting four to five weeks from the day of the split before you expect to see new eggs or young larvae in the queenless colony.
During this time, the queenless hive will seem quiet and less active than the original. That’s normal. The bees are focused on queen rearing, not foraging. Check that they have enough food—if there’s a nectar dearth (a period when little or no nectar is available from flowers), you may need to feed both colonies with sugar syrup to keep them going. After about 10 days, you can carefully peek at one frame to confirm they’ve built queen cells. Don’t tear them down. If you see no queen cells and no eggs, something went wrong—either the queen was accidentally split into both halves, or the brood was too old to convert. In that case, you may need to combine the colonies again or introduce a purchased queen.
Step 4: Checking for Success Four to Five Weeks Later
Four to five weeks after the split, open the queenless hive carefully and look for a laying queen or fresh eggs. If you see eggs and young larvae, the queen emerged, mated, and is laying—success. If you see only capped brood and no eggs, the queen may be present but not yet laying steadily, or she may have failed to mate. Give it another week and check again.
Once the new queen is laying steadily, treat the split colony like any other hive. It will be behind the original colony in population and stores, so it may not build up fast enough to produce surplus honey this year. That’s fine. Your goal was to create a second colony, not to maximize profit in year one. Both hives should be strong enough to survive winter if you feed them properly and manage for varroa mites.
If the split fails—no queen emerges, or the queen doesn’t mate—you can combine the colony back with the original hive or introduce a purchased queen. It’s not a disaster; it’s a learning experience.