How to Treat a Drone-Laying Queen
A drone-laying queen is one of the most frustrating problems a beekeeper can face, but it’s also one of the clearest signs that a colony needs immediate help. If left unchecked, a drone-laying queen will destroy your hive within weeks. The good news: fixing it is straightforward, and most beginners can do it successfully.
Confirming the Diagnosis First
Before you act, make absolutely sure you have a drone-laying queen and not something else. Open the brood box on a warm day and look at the capped brood pattern. A drone-laying queen lays eggs in a scattered, chaotic pattern—often multiple eggs per cell, and mostly in drone cells (larger, domed cappings). Worker brood is laid in a tight, orderly pattern with one egg per cell.
Look at the eggs themselves if you can. Drone eggs are laid haphazardly, sometimes on the cell wall or floor instead of the bottom. Worker eggs are always placed at the cell bottom. If you see this pattern across multiple frames, you have a drone-layer.
It’s also worth checking whether the colony is actually queenless instead. A recently queenless hive will have no eggs at all after a few days, and no queen-like bee present. A separate but related problem is laying workers — when a queenless colony has been without a queen long enough that worker bees begin laying unfertilized eggs. Laying workers produce a similarly scattered, multi-egg-per-cell pattern to a drone-layer, but there will be no single queen-like bee to find. If you see a bee that looks like a queen (longer body, pointed abdomen), you have a drone-layer. If you see no queen-like bee after a thorough search, the colony is either queenless or has laying workers, and needs a different solution.
Why This Queen Needs to Be Replaced
A drone-laying queen is typically an unmated queen or a queen too old to store viable worker sperm. She can only lay unfertilized eggs, which develop into drones (males). A colony of drones cannot forage, cannot care for brood, and cannot sustain itself. Within 3–4 weeks, the colony will collapse because there are no new workers being born.
You cannot “fix” a drone-layer by waiting or treating the hive. The queen will not improve. Your only option is to remove her and install a new, mated queen. This is not a failure on your part—it happens to experienced beekeepers too. Sometimes a queen simply doesn’t mate successfully, or she was damaged during shipping.
The sooner you replace her, the better. Even a few weeks of drone-laying means the colony has already lost time it cannot recover. A new queen can start laying worker brood immediately, and the hive can rebuild before winter (if it’s early enough in the season).
Requeening Timeline
Start the replacement process as soon as you confirm the drone-layer. Remove the old queen first—find her on the brood frames and brush her gently into a container. You can release her outside away from the hive, or keep her in a cool place for a day or two if you want to be certain before proceeding.
Wait 24 hours after removing the old queen. This gives the colony time to realize she’s gone and prepares the bees to accept a new queen. Then install your new mated queen in her cage. Follow the cage instructions carefully—most cages require you to remove a cork or plug after 2–3 days so the bees can chew through a candy barrier and release the queen gradually.
Check the cage after 5–7 days. The queen should be out and laying eggs within 10–14 days of installation. If she’s still caged and the bees haven’t chewed through the candy, you can carefully remove the cage yourself. If the bees are balling (clustering) around the cage aggressively, give them another day before opening.
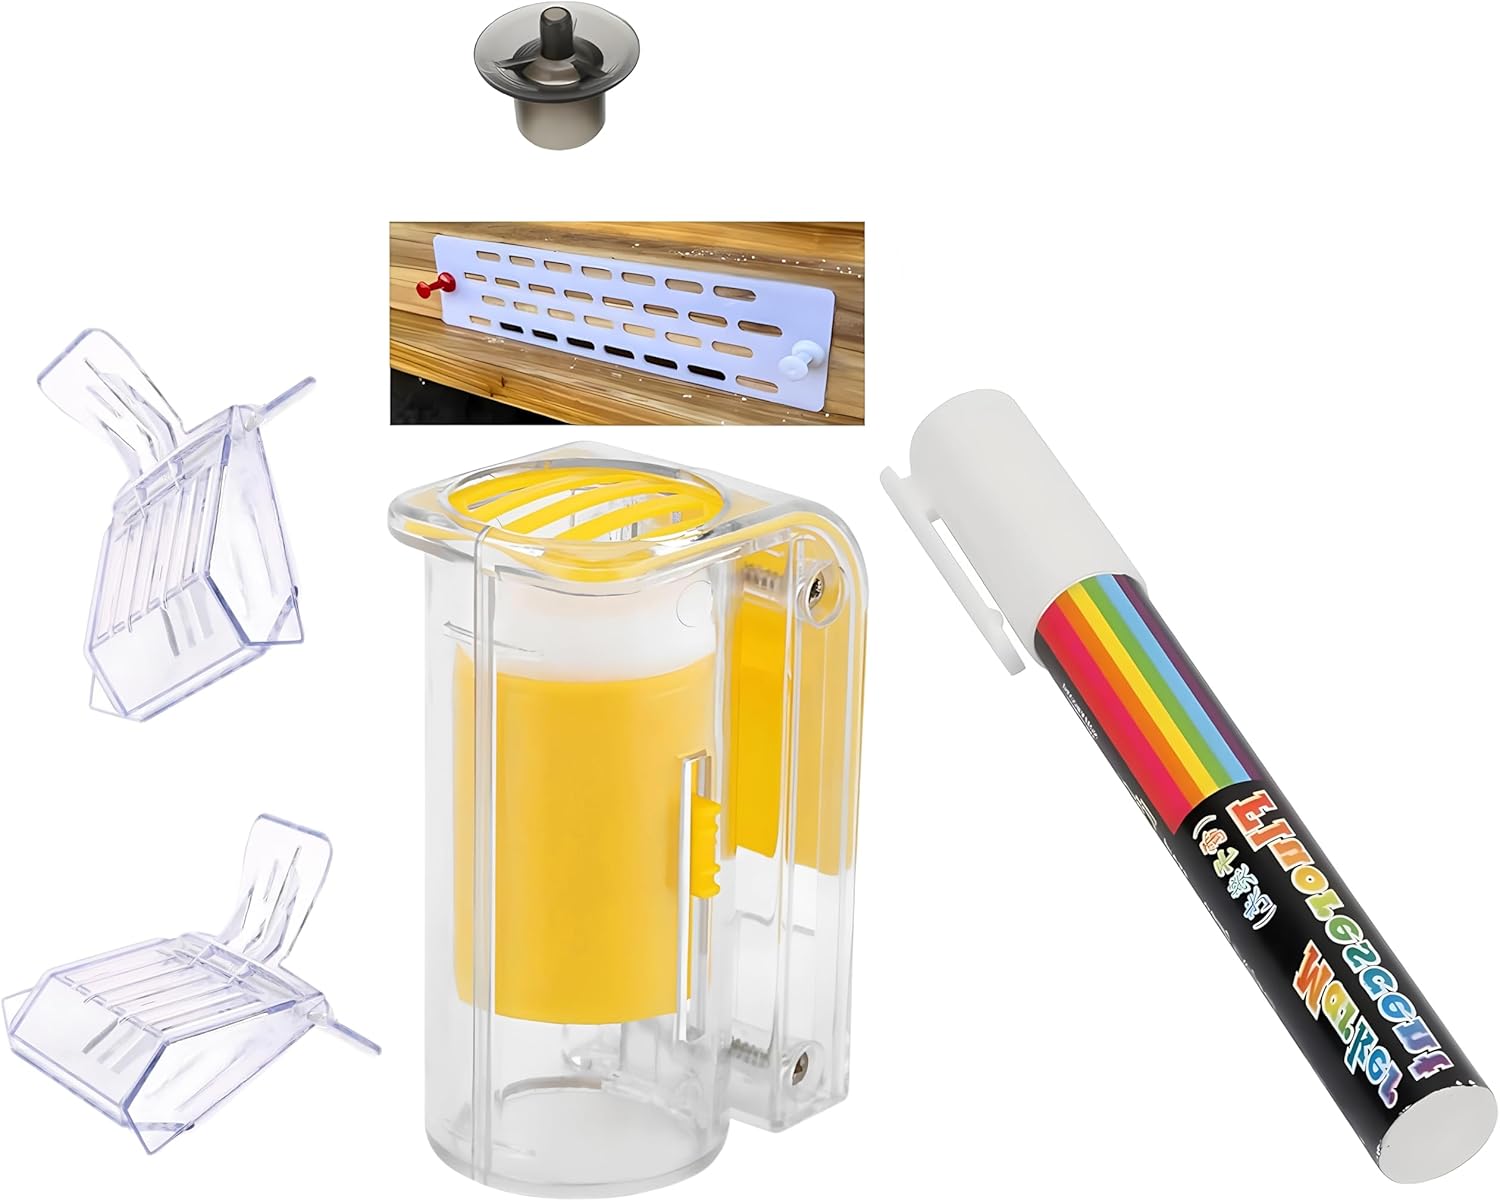
A mated queen bee with cage is the standard tool for requeening and the only practical option for most beginners. It arrives in a small cage with candy or a cork plug that controls the release rate, giving the colony time to accept her. This is not an expensive product, and it's far cheaper than losing an entire hive to a drone-layer.
Preventing Colony Loss During the Transition
A colony with a drone-layer is already weakened. During the 1–2 weeks before the new queen starts laying workers, the hive will continue to lose bees as old workers die and no new ones emerge. You can help stabilize it.
Feed the colony sugar syrup (1:1 ratio of sugar to water) to reduce stress and give them resources to survive the transition. Provide it in a frame feeder or entrance feeder, not open dishes. Reduce the hive entrance to a small opening (use an entrance reducer) to help the bees defend against robber bees, which are attracted to struggling colonies.
If the colony is very small, you can add a frame of open brood from a known-healthy hive to boost population and help the bees stay cohesive while they wait for the new queen to begin laying. Only do this if you are confident the donor hive is disease-free, as brood frames can transfer disease between colonies. Once the new queen is laying well and you see new worker brood emerging (about 3 weeks after installation), the colony will recover on its own.
If the colony is very small or it’s late in the season (within 6–8 weeks of winter), consider combining it with a stronger hive instead of requeening. A tiny colony cannot build up in time and will starve or freeze.