How to Make Beeswax Candles
Making beeswax candles is a satisfying way to use leftover wax from your hive, but it’s not essential for beekeeping beginners. If you’re just starting out, focus on keeping bees healthy first—candle making can wait until you have extra wax and feel confident with basic beekeeping tasks. That said, if you’ve already harvested honey and have wax to spare, here’s how to do it safely and well.
Step 1: Clean and Filter Your Wax
Raw beeswax from your hive contains debris, bee parts, and old cocoon material. You need to clean it before making candles, or they’ll smell off and burn poorly.
Start by melting your wax in a double boiler—never directly over heat, as wax is flammable. Use a pot of water with a smaller pot or metal bowl inside it. Heat gently until the wax is fully liquid, then pour it slowly through cheesecloth or a fine mesh strainer into a clean container. Let it cool completely; any heavy debris will sink to the bottom while the clean wax hardens on top. Once solid, lift the wax disc off the top and scrape any residue from its underside, then discard the sludge left in the container.
If your wax is very dark or smells musty, repeat the filtering process. You want pale golden or cream-colored wax for best results. This takes patience but makes a real difference in candle quality.
Step 2: Choose the Right Wick
The wick size matters more than most beginners realize. Too thin and your candle won’t burn evenly; too thick and it will smoke and waste wax.
For container candles (poured into jars), use a wick sized to match your container’s diameter—wick manufacturers provide sizing guides matched to container diameter, so check the guidance from whichever supplier you buy from. Braided cotton wicks work well and are easy to find. If you’re using a beeswax candle making kit with wicks, the kit will include sized wicks matched to your mold or container, which takes the guesswork out.
Wick stickers or tabs help secure the wick to the bottom of your container before pouring. A pencil or chopstick laid across the top of the container keeps the wick centered and upright while the wax cools.
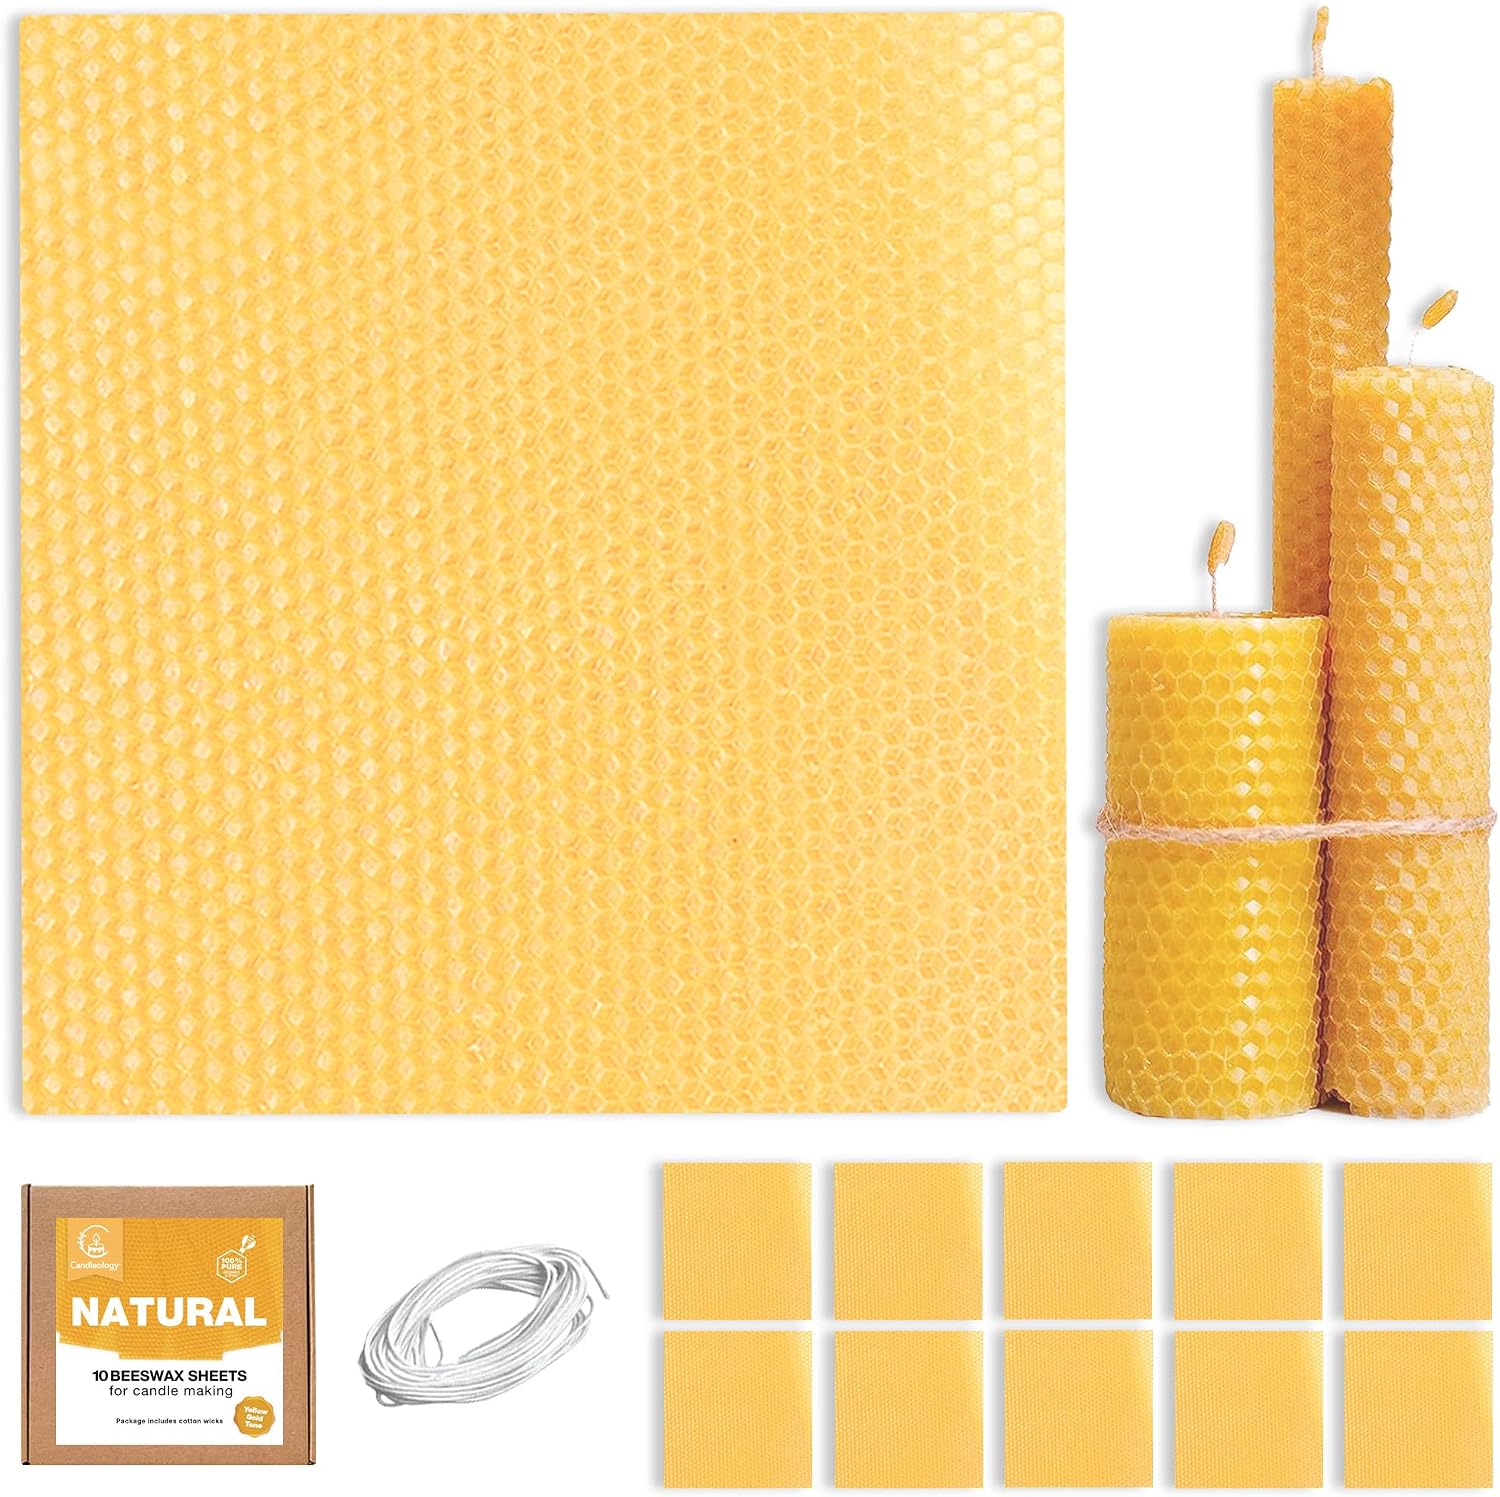
A beeswax candle making kit with wicks removes most of the setup uncertainty for beginners by bundling pre-sized wicks, wick stickers, and sometimes molds or containers, so you can focus on the melting and pouring rather than sourcing individual components.
Step 3: Melt and Pour Safely
Melt your clean wax again in a double boiler, heating to around 170–180°F if you have a thermometer. Beeswax sets slowly, so you don’t need to rush—a gentle heat is safer and gives you time to work.
Secure your wick in the container using a wick sticker or tab, then center it with your pencil or stick. Pour the melted wax slowly into the container, leaving about half an inch at the top. Work in a well-ventilated space and keep a fire extinguisher nearby—it’s unlikely you’ll need it, but it’s good practice when working with heated wax.
Let the candle cool at room temperature. Don’t move it or expose it to drafts while it’s setting. Beeswax cools slower than paraffin, so this can take several hours or overnight. You may see a slight sink hole form around the wick; this is normal. If it’s deep, you can reheat leftover wax and top it off once the first pour has set.
Step 4: Curing Before Use
Beeswax candles benefit from curing time before you light them. Let the finished candle sit for at least 24 hours, ideally 48 hours, before burning.
This waiting period allows the wax to fully harden. The candle will also smell stronger and burn more evenly. Trim the wick to about a quarter inch before lighting—a longer wick will smoke and create soot. Beeswax candles burn slowly and cleanly, so you’ll get many hours of burn time per candle.