How to Make Mead from Your Own Honey
Making mead—fermented honey wine—is genuinely rewarding, but it’s also a long-term commitment. A batch takes months to years to mature properly, and the process demands patience and cleanliness more than skill. If you’re a beekeeper with spare honey and curiosity, it’s worth trying; if you’re looking for quick results, this isn’t it.
Before you begin: Home fermentation and alcohol production are regulated differently depending on where you live, at both the national and state/local level, and whether home production is permitted — and under what limits — varies by jurisdiction. Selling mead is a separate, generally more restricted question from making it for personal use. Check your current local and national rules before you start — this is not a step to skip or assume.
Step 1: Choose Your Honey-to-Water Ratio
Before you measure a single drop of honey, sanitize everything that will touch your mead: your fermentation vessel, stirring spoon, siphon tube, and airlock. Use a no-rinse sanitizer (available at any homebrew shop for a few dollars) mixed according to the packet instructions — coat all surfaces, let it sit for the recommended contact time, and drain without rinsing. Unsanitized equipment is the single most common cause of spoiled batches, and it’s entirely preventable. Make sanitation a habit you do before every step, not just at the start.
The ratio of honey to water determines how sweet, strong, and dry your final mead will be. Most beginners start with a “traditional” mead, which uses roughly 3 pounds of honey per gallon of water. This produces a drink around 10–12% alcohol by volume.
If you want something lighter and faster, use 2 pounds per gallon. If you want something richer and stronger (up to around 14–15% ABV), go up to 4–5 pounds per gallon. The yeast can only ferment so much sugar, so more honey doesn’t always mean more alcohol — it means more residual sweetness.
Dissolve your honey in warm (not boiling) water first. Heat helps it mix evenly and kills some wild microbes, but temperatures above 160°F can damage delicate honey flavors. Stir well, let it cool to room temperature, and then add it to your fermentation vessel. Use filtered or boiled water if your tap water is heavily chlorinated; chlorine interferes with fermentation.
Step 2: Pitch the Yeast
“Pitching” just means adding yeast to your honey-water mixture. Don’t use baker’s yeast — it produces off-flavors. Use wine yeast or mead yeast, which are bred to handle high sugar and alcohol levels. Common choices are champagne yeast (neutral, reliable, fast) or ale yeast (produces more complex flavors, slower).
Rehydrate the yeast before adding it to your must (the honey-water mixture). Follow the instructions on your yeast packet for water temperature and timing — manufacturers specify this per strain, and getting it right improves yeast survival rates significantly. Stir it in gently once rehydrated. You don’t need an airlock yet — just cover the vessel loosely with a clean cloth for the first 24 hours to let CO₂ escape while keeping dust and insects out.
After a day, attach an airlock (a simple S-shaped tube filled with water that lets gas out but keeps air out). This is your only real piece of equipment beyond a large glass jug or food-grade bucket. Airlocks cost a few dollars and last forever.
Step 3: Primary Fermentation
Primary fermentation happens in the first 1–4 weeks, depending on yeast type and temperature. You’ll see vigorous bubbling through the airlock — this is normal and good. Keep the vessel in a cool, dark place (60–70°F is ideal; warmer speeds things up but can produce harsh flavors).
Don’t open the lid to check on it constantly. Patience is the main ingredient here. After 2–3 weeks, the bubbling will slow dramatically. When the airlock shows only a bubble every few minutes (or stops entirely), primary fermentation is done.
At this point, rack the mead — siphon it carefully into a clean, sanitized secondary vessel, leaving the dead yeast and debris (called “trub”) behind. This step prevents off-flavors from developing. You can use a simple siphon tube and gravity; no pump needed.
Step 4: Aging and Bottling
This is where mead teaches patience. Leave it in the secondary vessel for at least 3–6 months, ideally longer. Many meads improve dramatically over a year or two. You can rack it again after a few months to further clarify it, but it’s not mandatory.
When you’re ready to bottle, siphon into clean, sanitized bottles (wine bottles work fine) and cap or cork them. If your mead is still slightly sweet and you want it to stay that way, refrigerate it to stop any residual fermentation. If it’s fully dry, room-temperature storage is fine.
Taste a sample before you bottle. It will likely taste rough and young — that’s normal. Mead mellows significantly with time. A year in the bottle is a reasonable minimum; three years is better.
Recommended Products
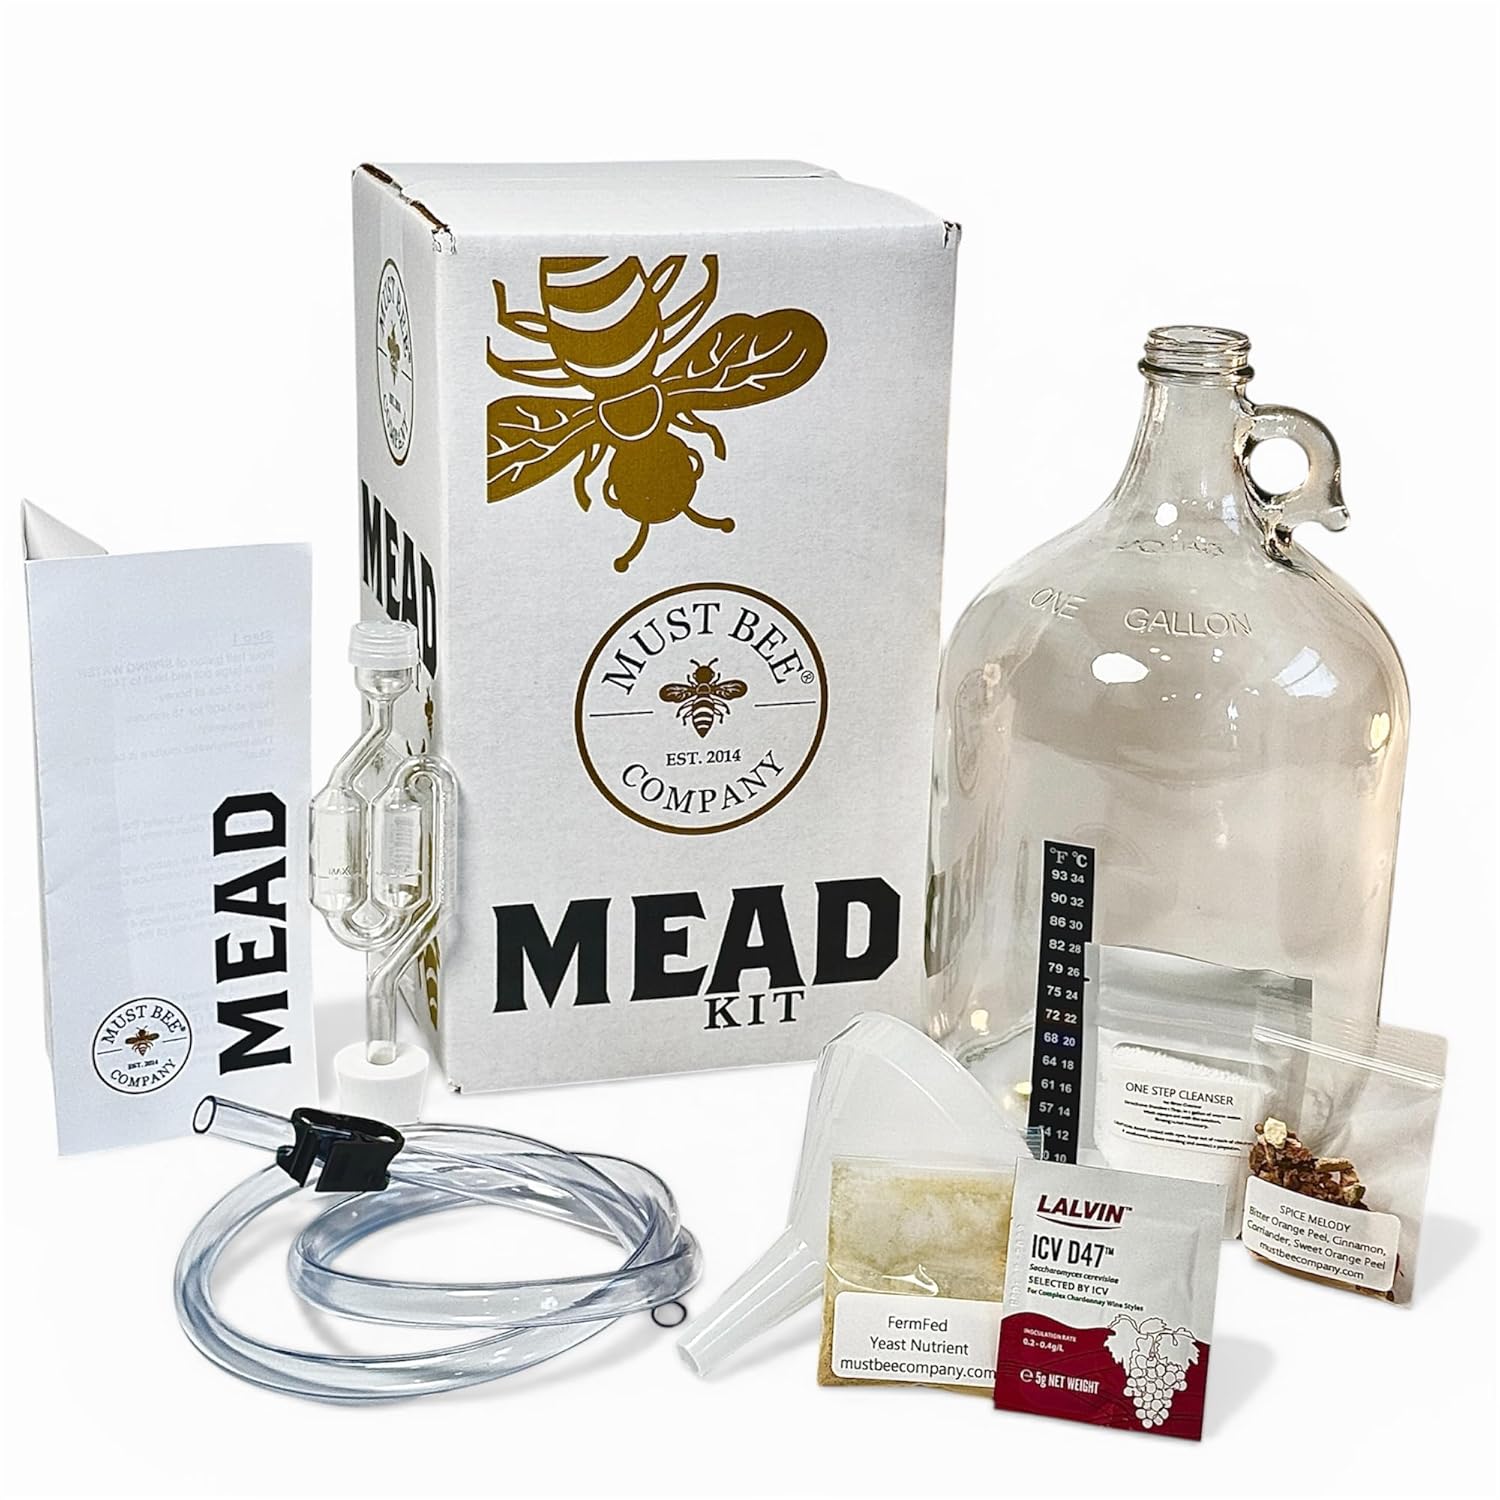
A mead making starter kit with pre-measured honey, yeast, and basic equipment like a fermentation vessel and airlock removes guesswork for your first batch and saves you from buying components separately.