Best Queen Marking Kits
Queen marking is useful but not essential for beginners—many hobbyists run successful hives without ever marking their queens. That said, if you want to spot your queen quickly during inspections or track how long she’s been in the hive, a marking kit is inexpensive and makes the job safer and easier than improvising. This guide covers what you actually need to know before buying one.
Best Overall Marking Kit
A solid queen marking kit includes a small paint pen or marker in the international standard color for the current year, a queen cage (a plastic or wooden tube that holds the queen still), and often a brush or applicator. The queen cage is the most important piece—it lets you safely immobilize the queen without crushing her while you apply a tiny dot of paint to her thorax (the middle section of her body). Look for kits that include non-toxic, water-based paint formulated specifically for bees; regular paint or markers can harm or kill her. A good kit will also come with clear instructions on how to use the cage and where exactly to place the mark. The best overall option balances ease of use, safety, and durability—you want a cage that doesn’t jam, paint that dries quickly without running, and materials that last through multiple seasons.
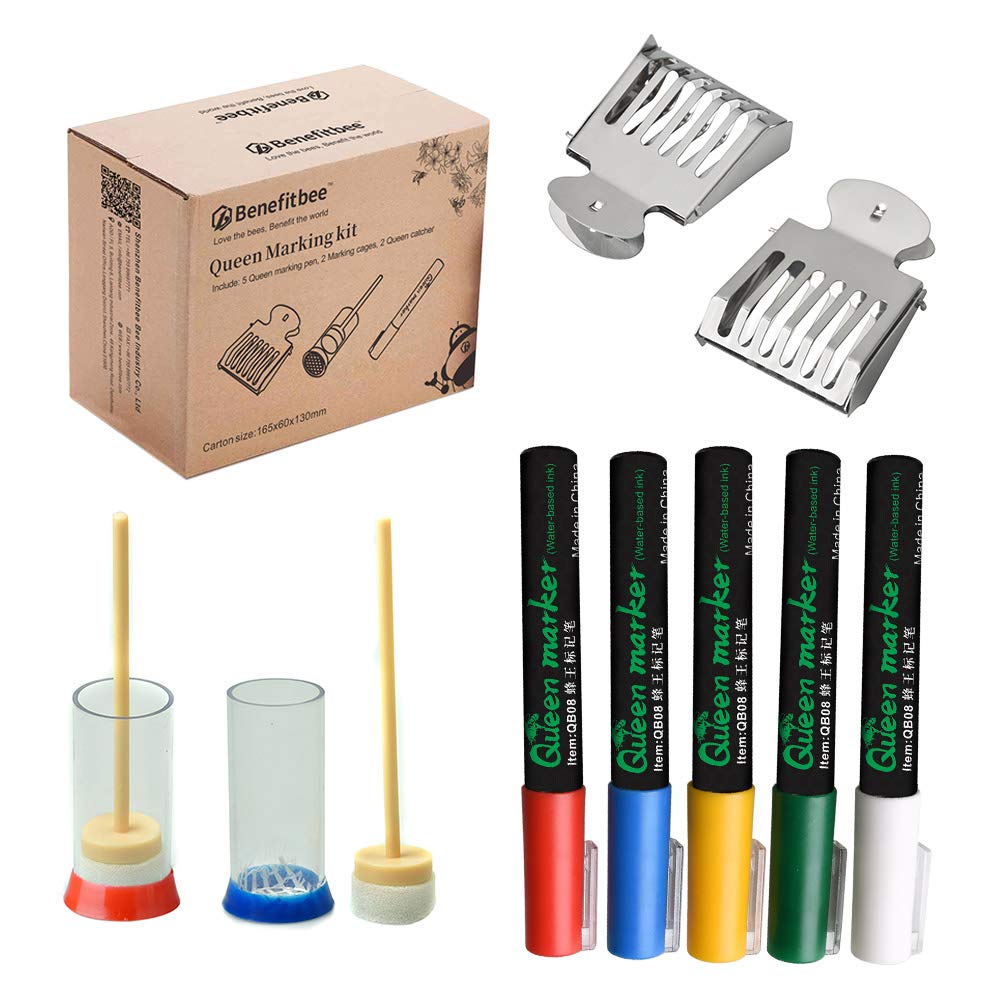
A standard queen marking kit with a plastic cage, water-based paint pen in the current year's color, and basic instructions will serve most hobbyists well and typically costs $12–25. These kits are widely available from beekeeping suppliers and work reliably for marking one or several queens per season without any special skill.
Best Budget Option
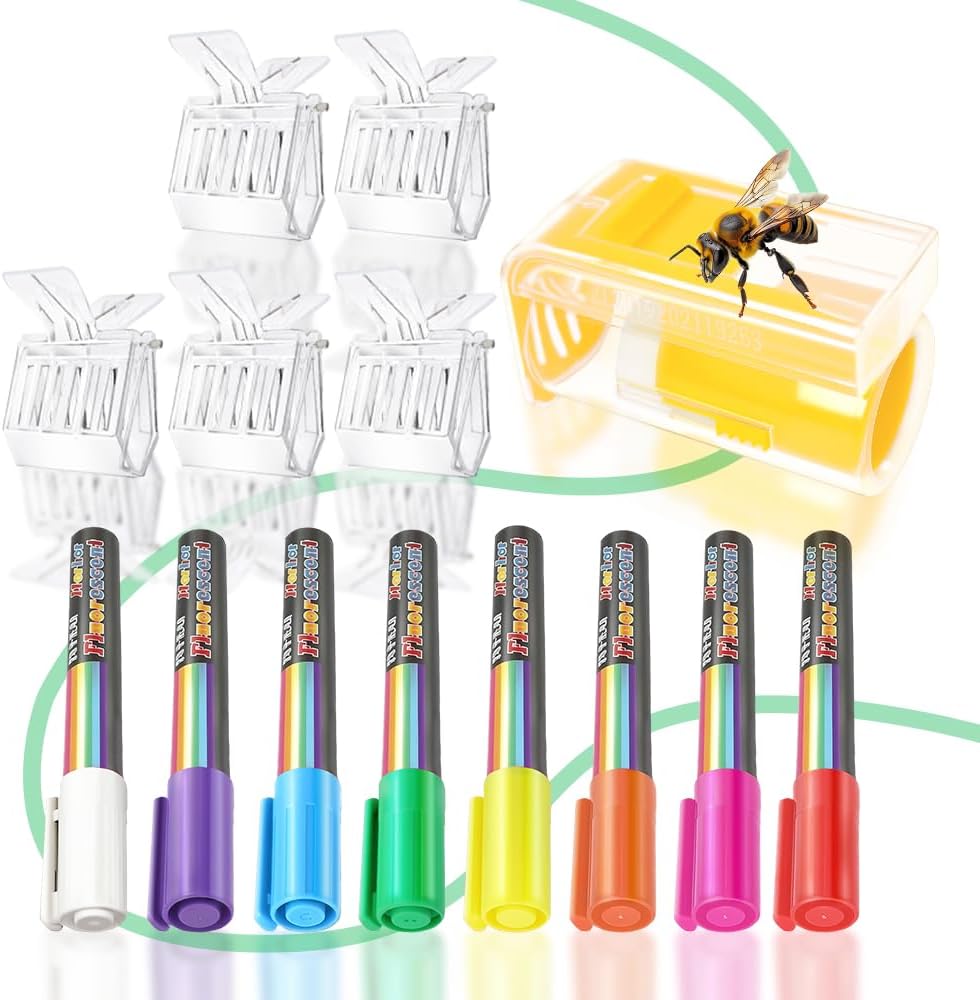
A complete marking kit with pens and a queen-catching cage at a lower price point than premium brands — the marking pens are the same basic chemistry either way.
If you’re price-conscious, you don’t need a fancy kit. A basic queen marking kit with a simple plastic cage and one or two paint pens will cost $10–20 and work just as well as expensive alternatives. The main difference in cheaper kits is usually build quality: plastic cages may crack more easily, and paint applicators might be less precise. However, for occasional use on a backyard hive or two, a budget option is perfectly adequate. Avoid the temptation to skip the cage entirely and mark freehand—the risk of injuring or killing your queen jumps dramatically, and she’s irreplaceable mid-season.
Color Coding by Year Explained
The beekeeping world uses a standardized color system to mark queens by the year they were born. The cycle repeats every five years: white (or year ending in 1 or 6), yellow (2 or 7), red (3 or 8), blue (4 or 9), and green (5 or 0). This system lets you instantly tell how old your queen is without consulting notes. A queen marked in blue in 2024 tells you she was born in 2024; if you see her again in 2025 with a blue mark, you know she’s made it through a full season. Most queen marking kits come with paint in the current year’s color, but check before buying to make sure you’re getting the right one. If you’re buying a kit mid-season or late in the year, you might want to purchase paint in next year’s color so you’re ready when you requeen or raise a new queen.
How to Mark a Queen Without Injuring Her
The safest method uses a queen marking cage: gently guide the queen into the plastic tube, align the small opening so her thorax is exposed, and carefully apply a tiny dot of paint to the top of her middle section. Work quickly but without rushing—the whole process should take 10–15 seconds. Let the paint dry for a few seconds before releasing her back into the hive. The key is a light touch: you need only a pinhead-sized dot, not a blob. If you’re nervous, practice the motion without paint first. Never mark a queen during a nectar flow when the hive is agitated, and avoid marking on very hot days when she’s more stressed. Some beekeepers prefer to mark queens during a hive inspection when they’re already handling frames; others do it right after introducing a new queen before she’s released into the hive. Either way, the cage makes the difference between a safe procedure and a risky one. If you don’t have a cage and can’t get one, honestly, it’s better to skip marking than to risk losing your queen to a fumbled freehand attempt.