How to Start Beekeeping: The Complete Checklist
Starting with bees means making a few smart decisions upfront, but you don’t need to buy everything at once. This guide walks you through what actually matters for your first hive, what can wait, and what’s just marketing noise.
Before You Buy Anything
Check your local laws first. Many areas require a permit or beekeeping license before you buy a single bee. Some neighborhoods have zoning restrictions or minimum lot sizes. Call your county extension office or local beekeeping association—they’ll tell you what’s required and often connect you with experienced keepers nearby.
Next, talk to existing beekeepers in your area. They know which hive types work best in your climate, which pests are common, and which suppliers are reliable. Most beekeepers are generous with advice. You should also decide whether you want one hive or two. Two hives let you compare how they develop and give you a backup if one fails, but they also double your workload and cost. One hive is fine for learning.
Finally, pick a hive location. Bees need morning sun, afternoon shade in hot climates, shelter from wind, and water nearby. They should face away from your neighbor’s bedroom window. Don’t overthink this—most backyards work.
Equipment Checklist
You need surprisingly little to keep bees alive and healthy. A Langstroth 10-frame hive kit (the most common hive design, made up of stackable rectangular boxes) is the standard choice for beginners—it’s affordable, parts are widely available, and most beekeeping resources assume you’re using one. The kit includes the wooden boxes, frames, and bottom board.
For protection, a ventilated beekeeping suit covers your whole body and keeps stings off your skin. Gloves are optional—many experienced keepers skip them because they reduce dexterity—but beginners usually feel more confident wearing beekeeping gloves.
A bee smoker calms bees and makes inspections safer. It’s cheap and essential; don’t skip it. A hive tool is a flat metal bar for prying apart frames and boxes. Buy one; you’ll use it constantly.
A bee brush is a soft brush for gently moving bees off frames. You can improvise with a soft paintbrush, but a real one costs five dollars. You’ll also want a veil (often sold with suits), a feeder for sugar water in spring, and an entrance reducer to help bees defend the hive in early season.
Skip the fancy uncapping knife, electric heater, and robber screens for now. You won’t use them your first year.
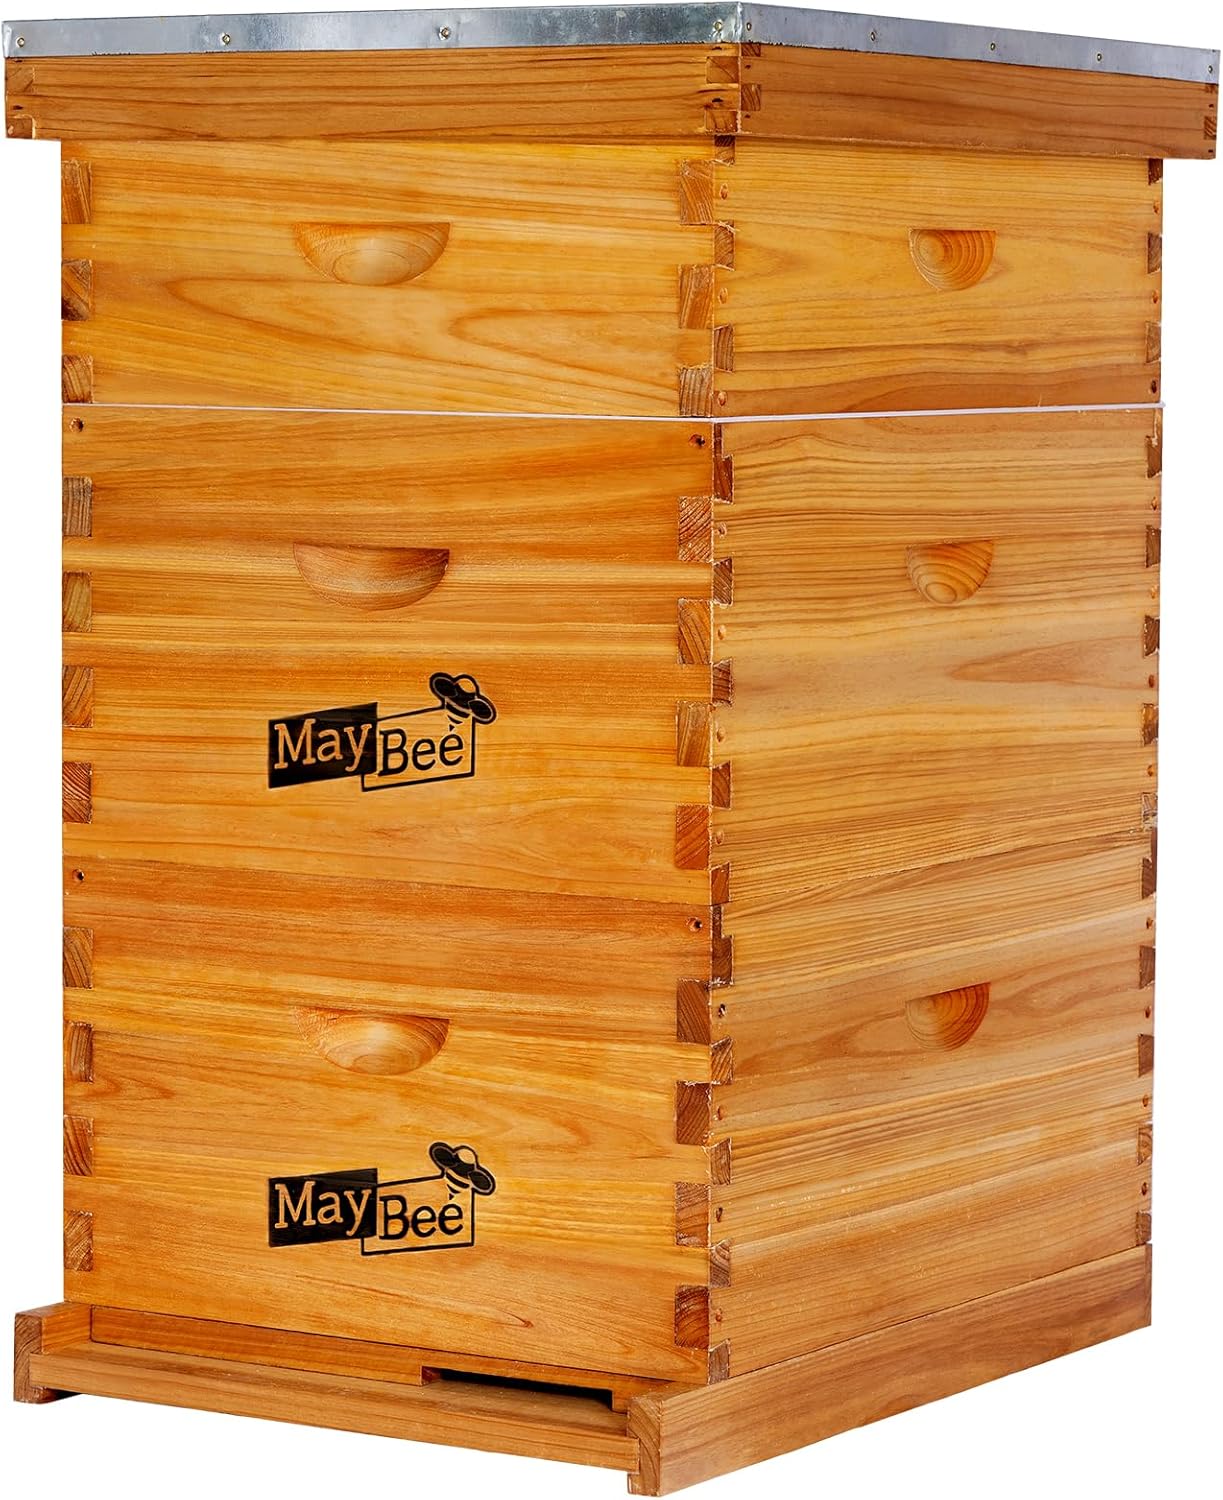
A langstroth 10 frame hive kit includes everything you need to house a colony—the boxes, frames, and foundation. It's the most common hive type in North America, so replacement parts are cheap and easy to find.

A ventilated beekeeping suit with a veil protects your whole body and keeps stings away from your face and neck. Ventilation prevents overheating on warm days, and most suits are machine-washable.
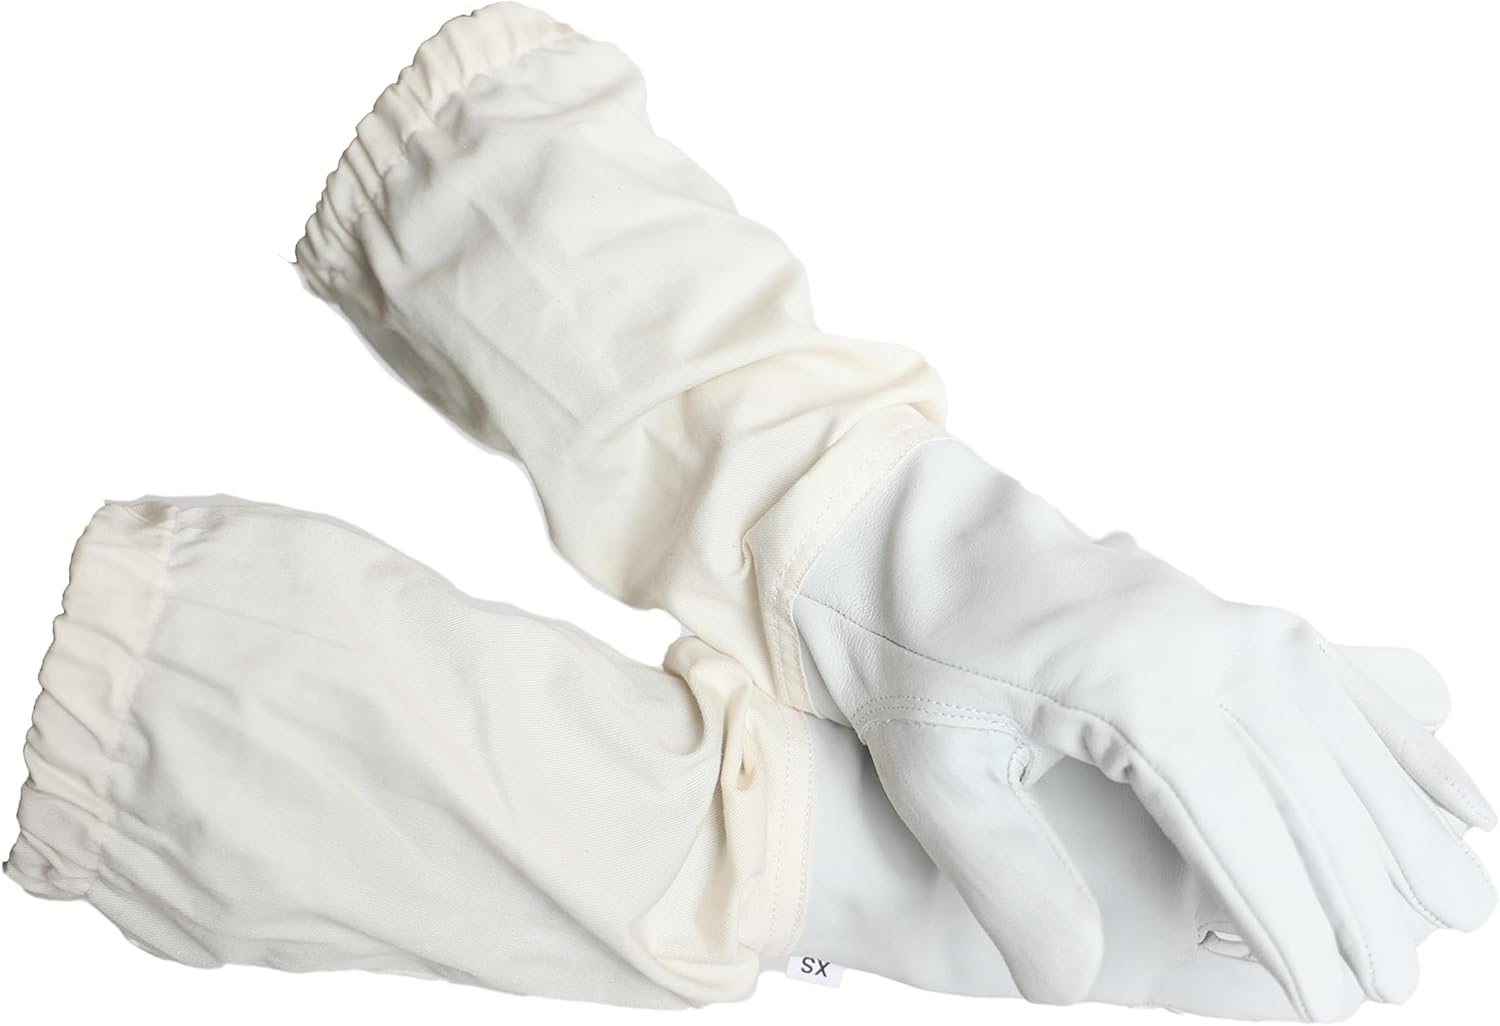
Beekeeping gloves protect your hands and wrists, though many experienced keepers skip them after the first year because bare hands let you work faster and feel what you're doing. Start with them if stings worry you.
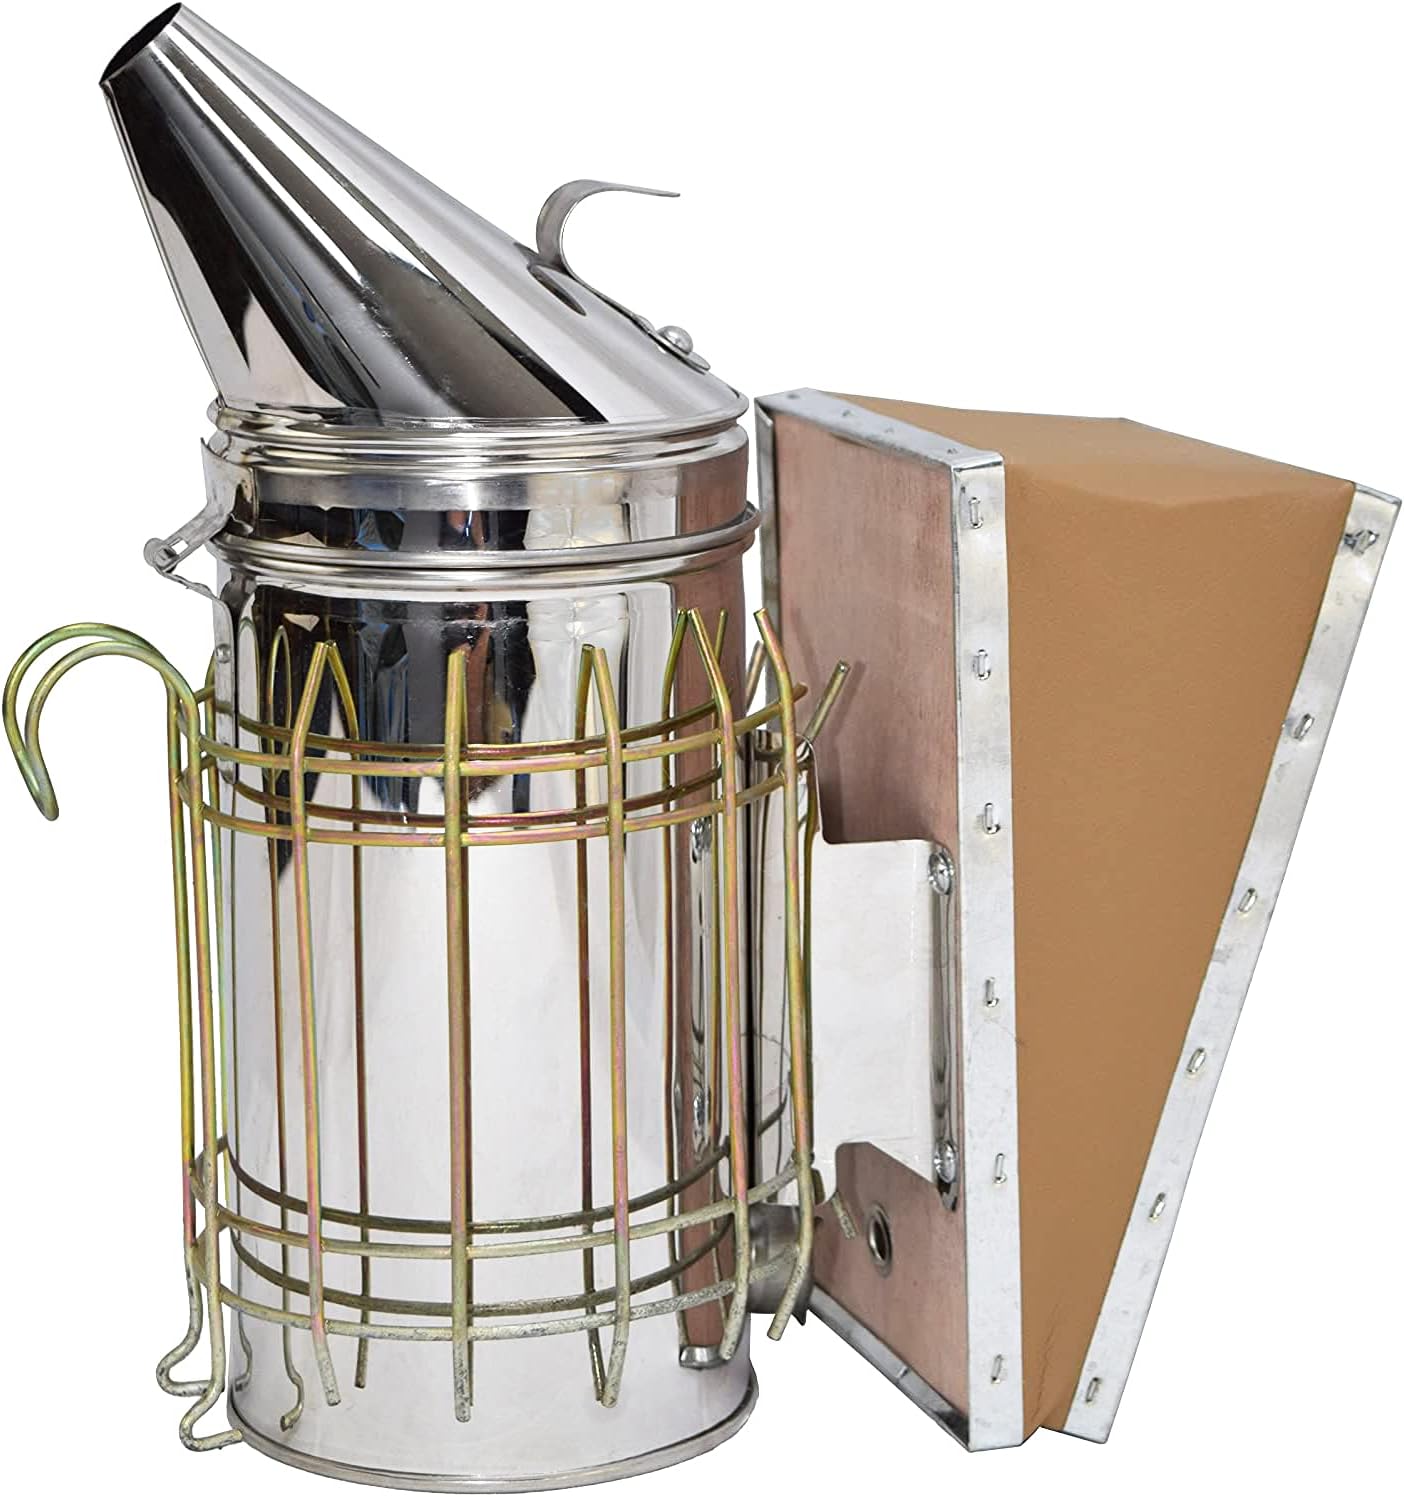
A bee smoker is a metal canister that produces cool smoke to calm bees before you open the hive. It's one of the cheapest and most useful tools you'll buy.
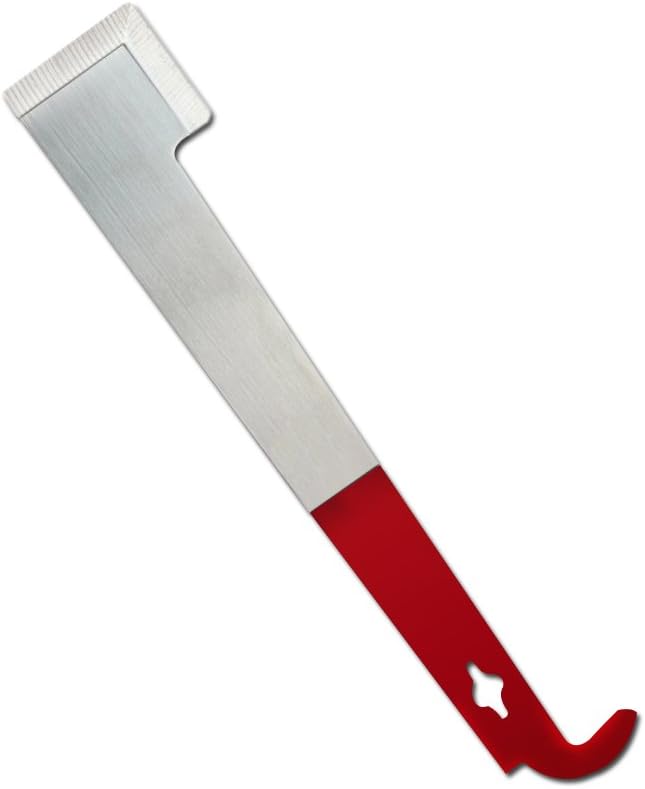
A hive tool is a flat metal pry bar designed to separate frames and boxes without crushing bees. You'll reach for it dozens of times per inspection.
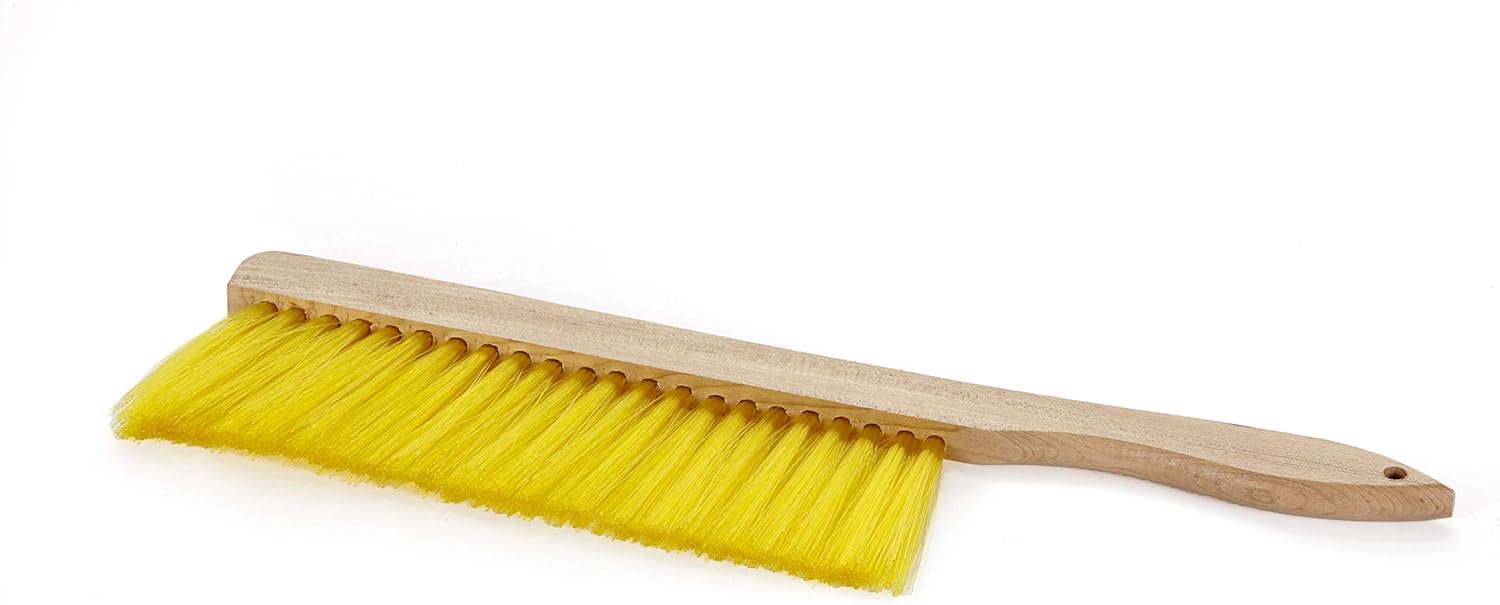
A bee brush is a soft brush for gently sweeping bees off frames so you can see what's underneath. It costs just a few dollars and saves you from crushing bees with your hands.
Paperwork and Permits Checklist
Contact your local county extension office and ask: Do I need a permit? Is there a registration fee? Are there inspections? Write down the answers.
Check your homeowners insurance and ask if bees affect your policy. Most insurers don’t care, but some do.
Join a local beekeeping association. Membership usually costs $20–50 per year and gives you access to meetings, mentors, and bulk equipment discounts. The association also keeps you informed about local regulations and disease outbreaks.
If you’re in a neighborhood with an HOA, check the bylaws or ask the board. Some HOAs ban bees; others don’t care. It’s better to know before you install your hive.
First-Month Checklist
Order your hive kit and bees by late winter so they arrive in early spring. Most beekeepers receive package bees or a nucleus colony (a small, established hive) in April or May.
Set up your hive location and assemble the boxes before the bees arrive. This takes a few hours.
On installation day, you’ll transfer the bees into the hive. This is straightforward but feels intense the first time. Watch a video beforehand.
In week two, do a quick inspection to confirm the queen is laying eggs. Peek in for 30 seconds; don’t linger.
Feed your bees sugar water for the first month if there aren’t many flowers blooming. Use a simple entrance feeder or jar feeder.
By week four, your bees should be building comb and storing pollen. Do a full inspection: check for eggs, larvae, and capped brood (cells sealed with a wax cap, containing pupae developing into adult bees). If you see all three, the queen is healthy.