How to Treat Hive Beetle Larvae in the Ground
Small hive beetle larvae are a real problem, but here’s the honest truth: if you’re a beginner, you probably don’t need to treat the soil around your hive yet. Larvae only become a serious ground issue after beetles have been in your hive for weeks or months and populations are out of control. Start with hive-level management first—better ventilation, fewer empty spaces, and regular inspections. If you’re reading this because you’ve already spotted larvae crawling out of the soil near your hive, then yes, it’s time to act. This guide covers what actually works.
Why Larvae Migrate to the Soil
Small hive beetle larvae leave the hive when conditions inside become too crowded or when adult beetles sense the hive is weakening. They crawl into the soil around the hive entrance to pupate—that’s the stage where they transform into adults. This usually happens near the hive in loose, moist soil. Once they pupate, they’ll emerge as new beetles in a few weeks, with the exact timing depending heavily on temperature and soil conditions. The problem compounds fast: a few new beetles mean more eggs, more larvae, and more pressure on your colony. Treating the soil is really about breaking that cycle before beetles emerge to reinfest the hive.
If you’re seeing larvae in the soil, your hive population is already stressed, so addressing that stress (adding space, improving ventilation, or combining weak colonies) is just as important as ground treatment.
Soil Drench Treatment Options
A soil drench is a liquid pesticide mixed with water and applied directly to the ground around the hive to kill pupating larvae before they become adults. The most common active ingredient discussed for this purpose is permethrin (a synthetic insecticide). Permethrin lasts longer in the soil but is highly toxic to bees and other beneficial insects; it should only be considered as a last resort after non-chemical methods have been tried and failed.
It is applied by mixing with water according to label directions and saturating the top few inches of soil in a circle around the hive, taking extreme care to avoid any drift or runoff toward the hive entrance or any water source. Always follow label instructions exactly. Wear gloves, eye protection, and a long-sleeved shirt, and avoid inhaling any spray mist — permethrin is a skin and respiratory irritant. Many beekeepers skip soil treatment entirely and instead focus on keeping hives strong and removing beetles from inside the hive using traps or screened bottom boards (a hive floor with a mesh screen that allows debris and small beetles to fall through and out of the hive). Check your local and state regulations before using any pesticide near honey bee colonies, as restrictions vary widely.
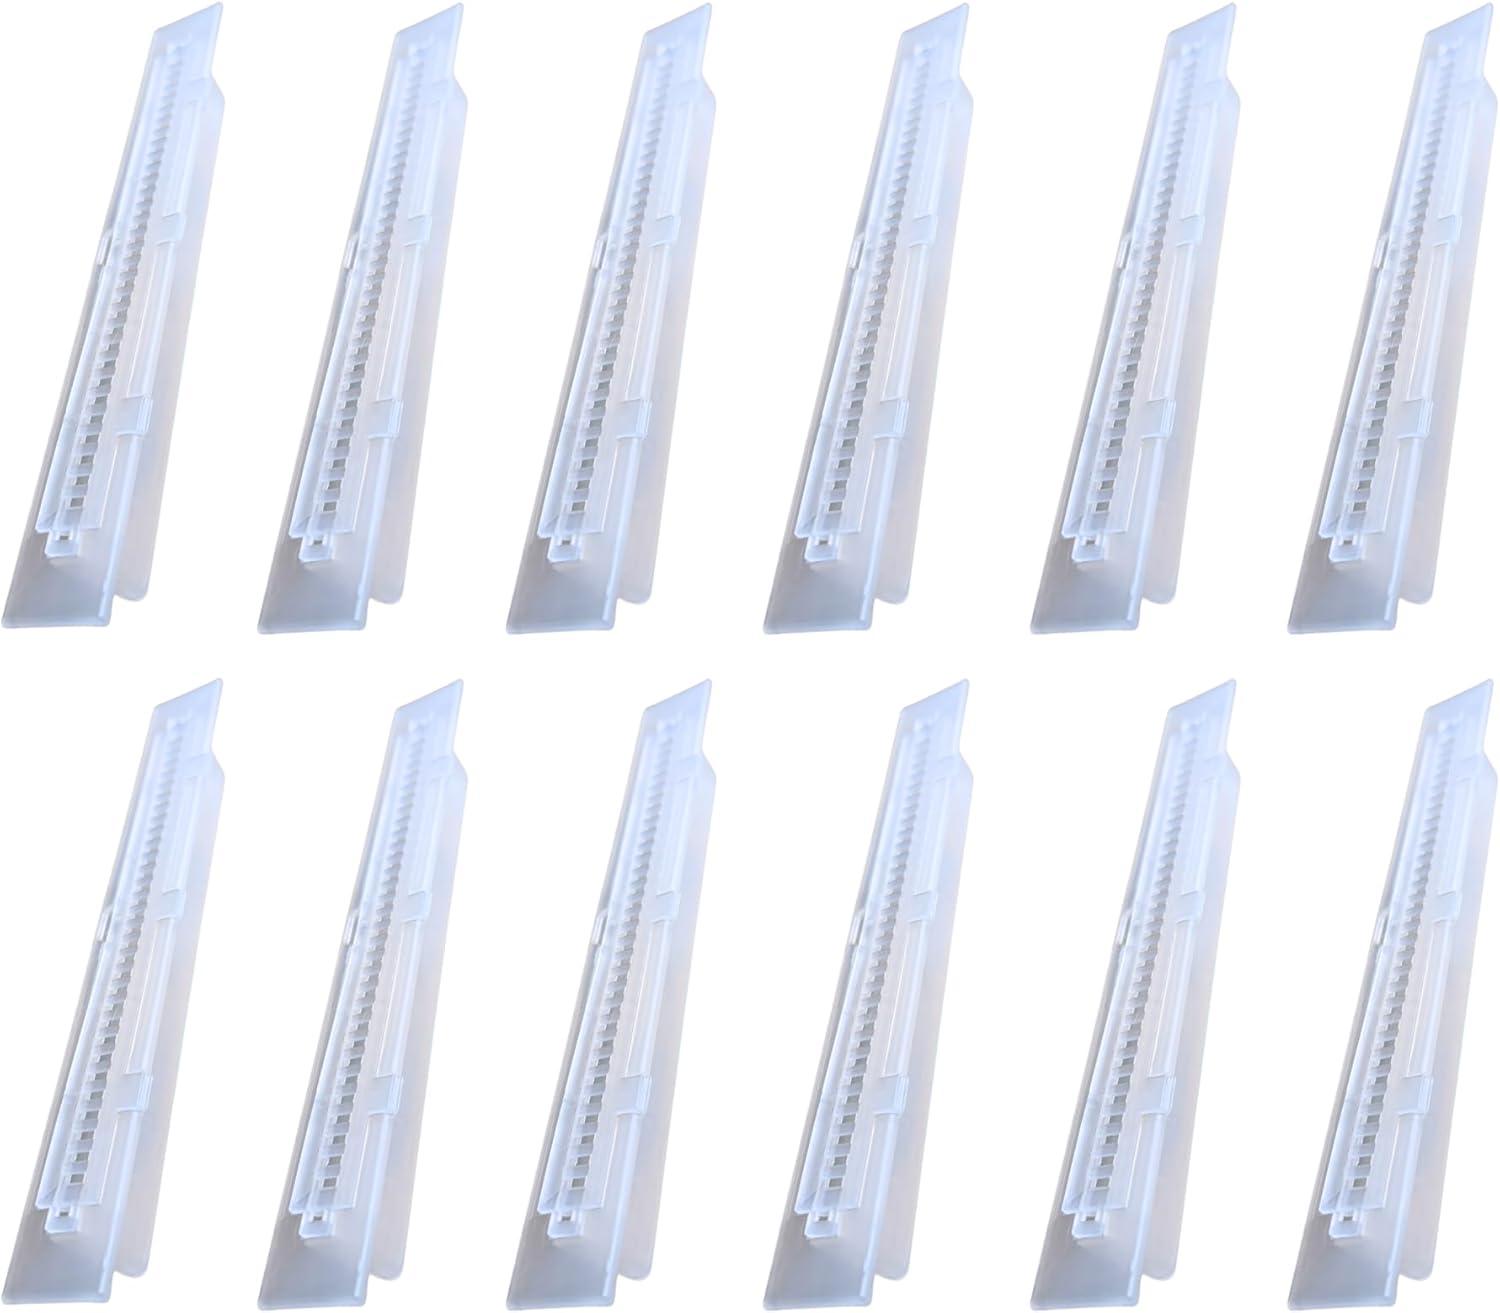
A small hive beetle trap placed inside the hive catches adult beetles before they lay eggs, which prevents larvae from ever reaching the soil in the first place. This is a better first step than soil treatment because it stops the problem at the source. Traps are inexpensive, non-toxic, and work year-round; they're worth having even if you never need a soil drench.
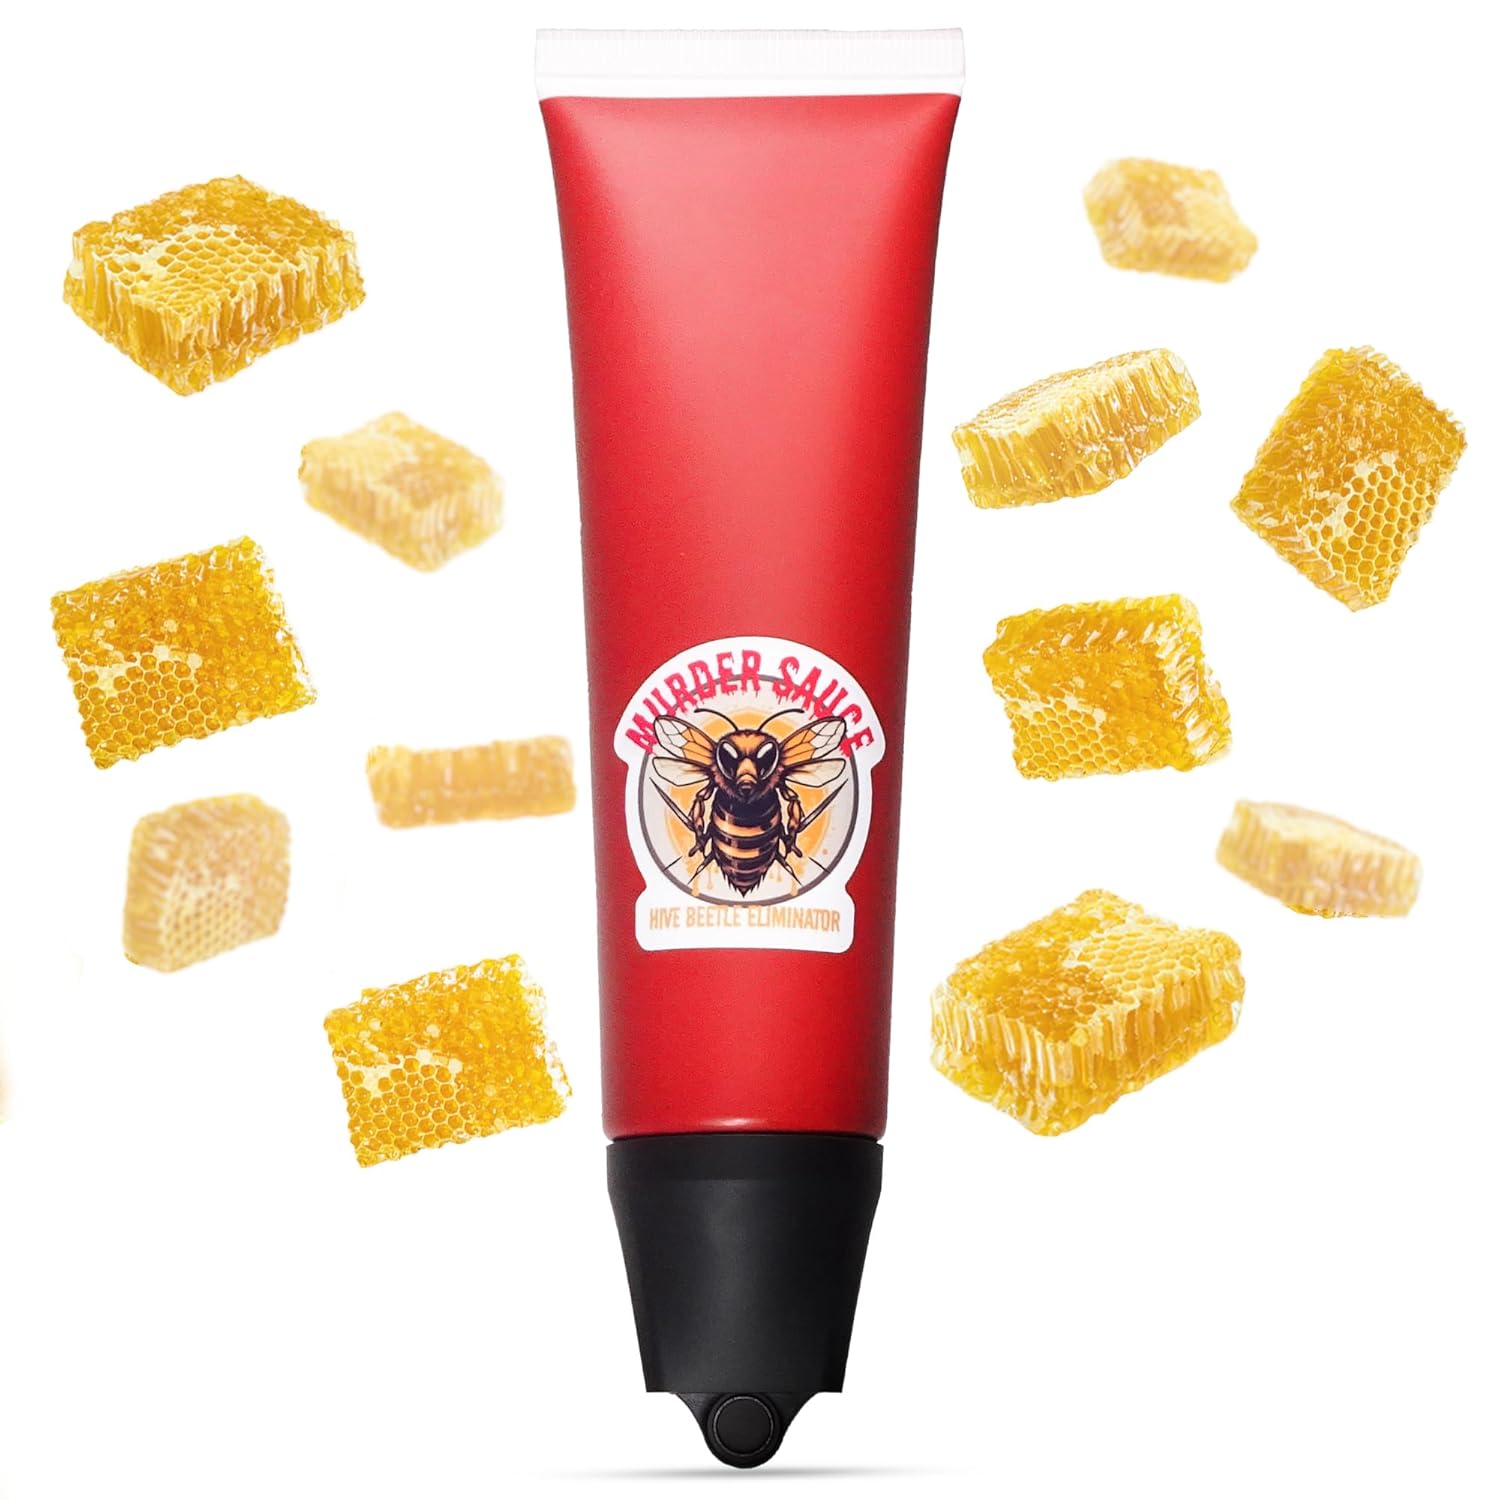
A soil drench hive beetle treatment containing spinosad or permethrin is applied directly to the ground around the hive to kill pupating larvae before they emerge as adults. Use this only after you've confirmed larvae in the soil and you've already addressed hive strength and moisture—it's a targeted solution for an active infestation, not a preventive measure.
Reducing Ground Moisture Near the Hive
Beetle larvae need moisture to survive in the soil. Dry ground is hostile to them. Before you resort to chemical treatment, reduce moisture around your hive: improve drainage by moving the hive to higher ground if possible, rake away mulch or leaf litter that holds water, and ensure the hive stand itself isn’t creating a damp microclimate underneath. If your region is naturally wet, consider raising the hive higher on blocks or a stand with airflow beneath. Some beekeepers create a small gravel or sand pit around the hive base instead of bare soil—larvae struggle in coarse, dry material.
This is preventive work that costs almost nothing and helps with multiple hive problems at once. It won’t eliminate beetles, but it makes the soil less hospitable for pupation. Combine this with good hive ventilation (which also reduces internal moisture) and you’ve already made life harder for small hive beetle larvae without chemicals.
Timing Treatment for Maximum Effect
Any soil treatment works best when larvae are actually in the ground. Timing varies significantly by region and climate—warmer areas see activity earlier and longer in the season. The best time to consider treatment is after you’ve spotted adult beetles in the hive and confirmed larvae are leaving, because that’s roughly when new generations are entering the soil. If you treat too early, new larvae will just arrive later. If you treat too late, beetles have already emerged. This is why regular hive inspections matter: you’ll catch the timing.
Apply any treatment in the early morning or late evening when bees are least active outside the hive, which greatly reduces the risk of bees contacting wet pesticide on the ground. Repeat only as needed and only while beetles remain active. Stop treating once you stop seeing beetles in the hive.