How to Graft Queen Cells
Queen cell grafting is a technique used to breed new queens or replace failing ones, but it’s not something most beginners need to attempt in their first year or two. If you’re just getting bees established and learning the basics, skip this for now. However, if you’re running multiple hives, want to improve your stock, or need to replace a queen quickly, grafting gives you control over which genetics you’re propagating. This guide walks through the process step-by-step so you can do it successfully when you’re ready.
Step 1: Select Larvae of the Right Age
The larvae you graft must be very young—ideally 24 hours old or less, and no older than 48 hours. At this age, the larvae are still small enough to transfer without damage and young enough that the colony will accept them as potential queens. Larvae older than this are too developed and the bees won’t treat them as royal candidates.
To find larvae of the right age, look in the brood frames of your strongest, healthiest hive (your “breeder colony”). You’re looking for eggs or tiny larvae that are barely visible in the bottom of their cells. The eggs hatch around day 3, so if you saw eggs yesterday, today’s larvae should be the right age. If you can’t reliably spot eggs, mark your calendar when you see the queen laying, then count forward three days.
Choose larvae from frames with lots of young brood—this means the colony is strong and the queen is laying well. Avoid grafting larvae from weak colonies or from frames with spotty brood patterns (an irregular, patchy arrangement of capped and empty cells that can signal poor genetics or disease), as these may indicate problems with the source colony. The better the source colony, the better your new queens will be.
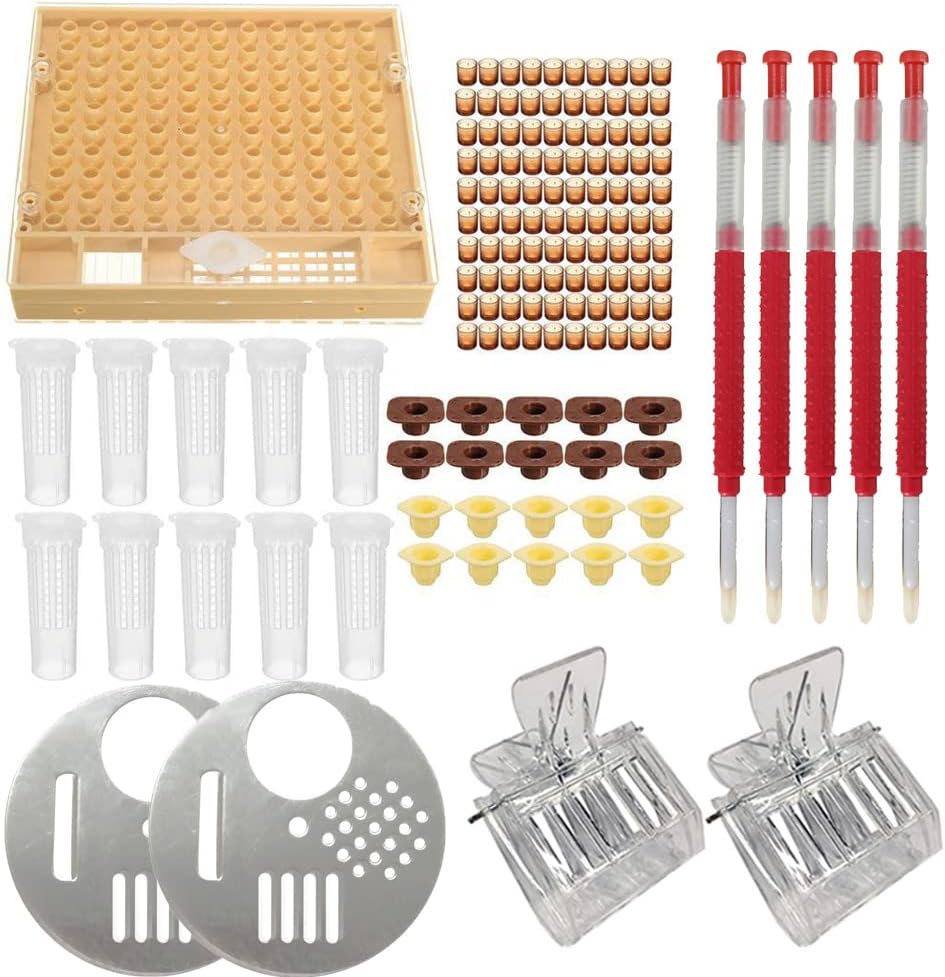
A queen cell grafting kit typically includes a wooden bar, plastic cell cups, and a grafting tool, giving you everything needed to start grafting in one package. This is the most economical way to begin, though you may find individual components work just as well once you're comfortable with the technique.
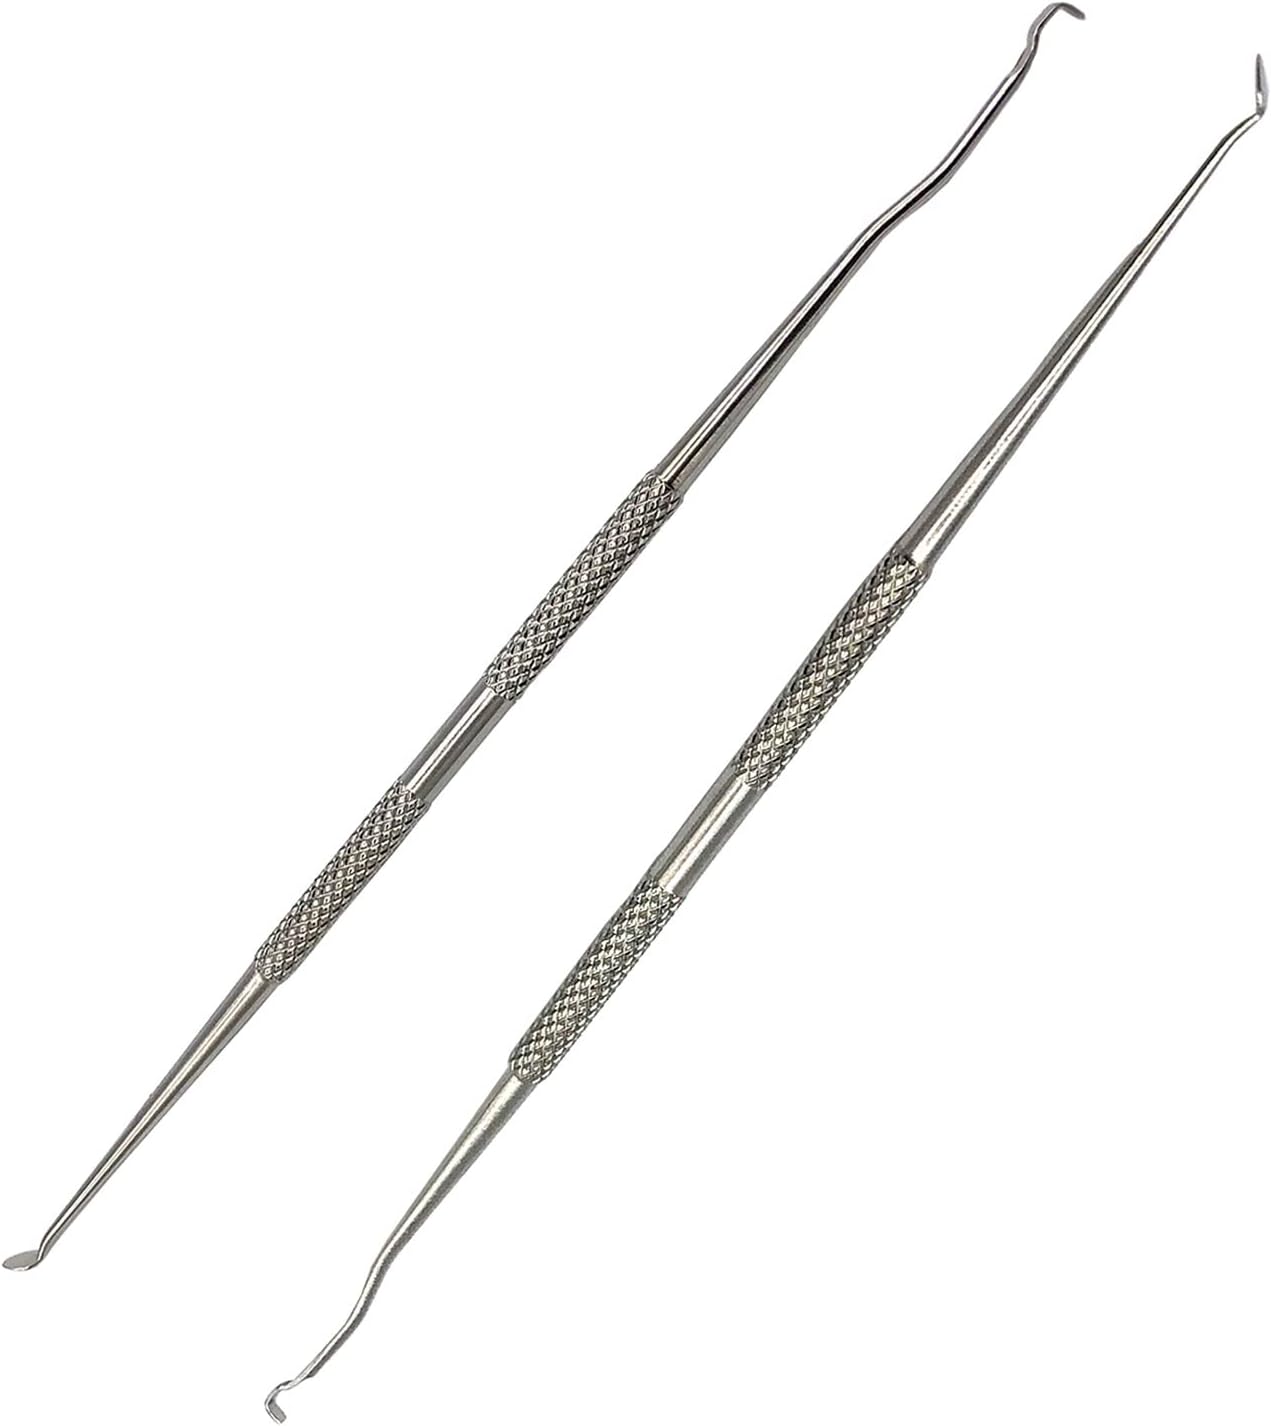
A grafting tool for bees is a small, specialized instrument with a blunt or slightly curved tip designed to scoop larvae without injury. Many beekeepers prefer to buy the tool separately and source cell cups and bars elsewhere, which lets you customize your setup as you gain experience.
Step 2: Transfer Larvae into Cell Cups
This is the fiddly part. You’ll use a grafting tool (a small, blunt-tipped instrument) to gently scoop a larva along with a tiny amount of royal jelly from its cell, then place it into an artificial cell cup. The cell cup is usually plastic or wax and sits on a wooden bar that fits into a frame.
Work slowly and keep your hands steady. Dip the grafting tool very lightly into the larval cell to collect the larva and its jelly cushion—don’t scrape or dig. Transfer it to the cell cup, which should be positioned so the larva sits at the bottom in the jelly. If the larva is damaged, drowning in jelly, or positioned on its side, remove it and try another.
You don’t need to graft perfectly every time. Even experienced beekeepers lose some larvae during transfer. Aim to graft 20 to 30 larvae per frame; not all will be accepted by the colony, so starting with more gives you better odds. Work indoors or in shade on a cool day if possible—larvae are delicate and heat makes them dry out quickly.
Step 3: Place in a Queenless Starter Colony
A starter colony is a small, queenless group of bees whose job is to accept and begin feeding the grafted larvae as if they were destined to become queens. You can create a starter from a split (a mini colony made by dividing a strong hive) or use a queenless nuc (short for “nucleus colony”—a small hive, typically 4–5 frames, used as a compact working unit). The key is that the bees must have no queen and no queen cells of their own, so they’re motivated to care for your grafts. Check your local regulations before moving frames of bees or brood between sites, as some areas restrict this to control disease spread.
Insert the frame holding your grafted cell cups into the center of the starter colony, surrounded by frames of brood and food. The bees will immediately begin building wax around the cups and feeding the larvae with royal jelly. Leave the grafts in the starter for about 5 to 7 days. During this time, the larvae grow rapidly and the bees construct the characteristic elongated queen cell around each one.
A queenless starter can only work for so long before the bees become discouraged or start laying drone eggs. That’s why you move the cells to a finisher colony next.
Step 4: Moving Cells to a Finisher Colony
After 5 to 7 days in the starter, your queen cells should be capped (sealed over with wax by the bees, indicating the larva inside has pupated and development is progressing) and well-developed. Now move the frame to a finisher colony—a strong, queenright hive (one that has a laying queen and is functioning normally) that will care for the cells until they’re ready to emerge.
Place the frame toward the edge of the brood nest (the central area of the hive where the queen lays eggs and young bees develop), away from the queen so she doesn’t destroy the cells. The finisher colony has the resources and stability to keep the cells healthy for the remaining days until emergence. As a rough guide, queens typically emerge around day 16 from when the original egg was laid, though this is an approximation and can vary slightly by a day or so depending on conditions—mark your calendar and check regularly as the expected date approaches.
When the cells are capped and ready, you can also remove them and place them in a queen cage or incubator if you want to control exactly when they emerge, but for beginners, leaving them in the finisher hive is simpler and more reliable.